
I’m Lauren Ripple
Christ follower • Wife + Mama • Sun Bum
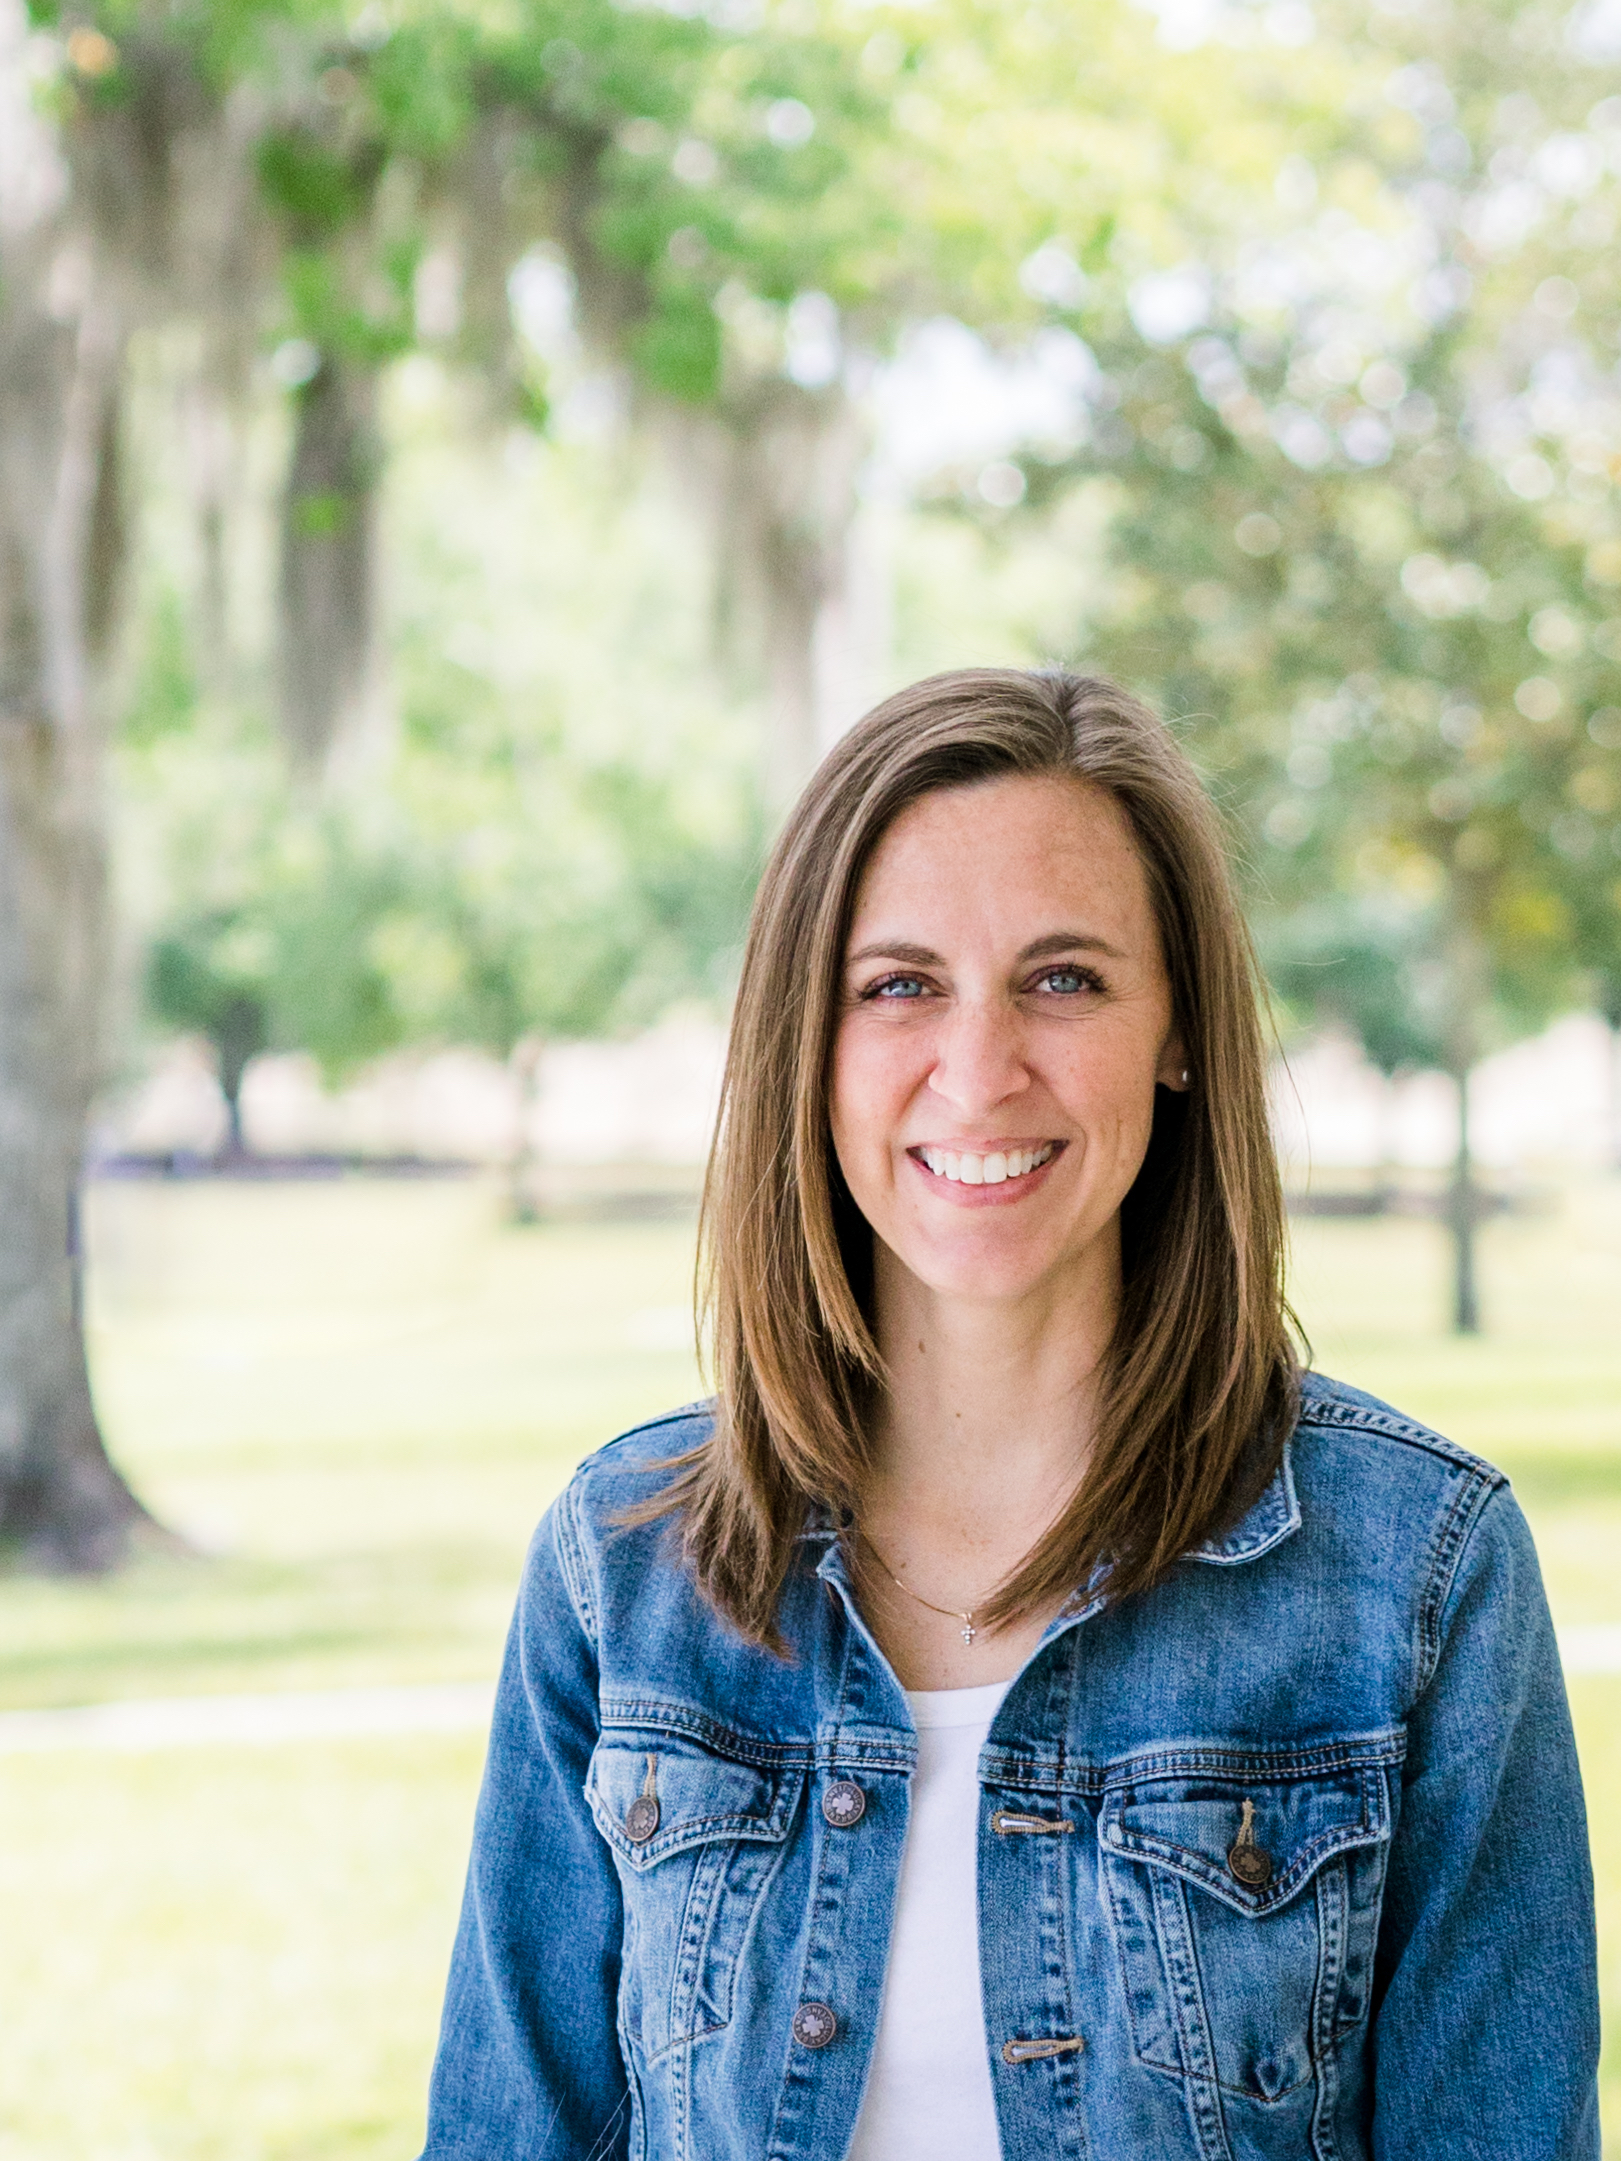
I’m Lauren, a native Floridian who’s either at the beach with my husband and kids or a thrift store hunting for books and cute clothes. I’m a little bit of a theology nerd and a life-long learner in general (aka a regular nerd) and, like most editors, a photographer.
Over the years, I tried shooting a variety of occasions and styles to discover my niche. Turns out, it’s editing! While I tend to gravitate toward documentary style shooting with classic-to-light editing with a hint of film influence for my own images, I love the variety I get to experience as an editor. It’s so fun to get to partner with you as I learn your beautiful style to help you serve your clients.
Swipe to find out more about outsourcing your editing and more!
© 2023 Lauren Ripple LLC

Private Photo Editing
by Lauren Ripple
I started my editing business in 2018 and it’s been a joy working alongside such talented photographers. My favorite emails from them say things like, “You nailed it!” and, “What would I do without you?!” It’s reassuring that my inner perfectionist isn’t a flaw, but a strength. So, I give her caffeine and turn her loose!
As a private photo editor, I edit biblically-defined weddings as well as portrait sessions (engagement, lifestyle, families). There’s no minimum requirement for the number of weddings/sessions you’d like to outsource. I best serve clients who use clean + classic to bright + airy styles of editing. If you’re not sure you fit one of those, it’s no problem – I love to learn new editing styles and variations. What’s most important is that you are confident and consistent in achieving your own editing style and that you can clearly communicate it to me.
The client experience is everything, so I’ve designed our professional relationship to be as simple and streamlined as possible while customizing it to your business needs. We’ll start by doing a Zoom call so you can show me your usual editing process. This is where we’ll also set up your editing schedule, turnaround time, and other details so that everything is tailored to you and we’re ready to get started. As I edit for you, I’ll be mastering and applying your unique editing style to every catalog, every time. Consistency in each catalog and cohesiveness overall is my goal – I want you to know you can count on the results.

I edit in Adobe Lightroom (the subscription desktop version).
My rates are:
• Weddings $0.43/image, $100 minimum
• Portrait & Stock $0.48/image, $40 minimum
My editing services include:
• Color correction and custom editing to match your style
• Straightening and cropping
• Basic LR retouching
• Custom turnaround time
I also offer additional services:
• Culling ($0.10/image x initial number of images)
• In-depth LR retouching ($2.00/image)
(My apologies, but I don’t edit in PS)

Don’t be shy if you have questions! I’m more than happy to answer any lingering questions and make sure you’re confident in working together. And to ease any fears of commitment: there is absolutely no pressure or obligation to work with me after doing a Zoom — the video call is to help you decide. If you’d like to know more or are ready to get started, simply send me an email at LaurenRippleLLC@gmail.com. I can’t wait to meet you and walk through 2023 with you!
© 2023 Lauren Ripple LLC

FAQ’s
“I have so many questions!” Okay, start here 🙂
I’m nervous about working with an editor. How do I know this isn’t going to be a royal disaster?
Working with an editor for the first time or needing to find a new editor are cause for anxiety for most photographers — I get it! Your business is riding on the final result of your work and it can feel kind of like handing over your own child when you let someone else edit your photos, but I hope it eases your fears to know: my business is riding on your satisfaction. I want you to to look at your images and feel like you edited all of them without *actually* having to edit all of them. That’s the point, right? You’re in the driver seat with what is sent to me and with the final work you send to your clients. My job is to try to make it look like no one else did the work but you, like I was never there.
I’ve been editing for five years, and I edit part time. I’ve never missed a deadline and I’ve never had a client ask me to re-edit a gallery. Every client has been pleasantly surprised after getting back their first gallery. It’s like I can hear the huge sigh of relief in their email afterward!
The most important thing for you to consider is this: if you’re consistent in your editing style and know exactly what to do to achieve it (and can communicate this to me) the more clear the end goal is for me and the happier you’ll be with working with me.
What does it look like to get started?
Send me an email at LaurenRippleLLC@gmail.com and I will send you a link to schedule a Zoom call. After you schedule it, I’ll send you the Zoom link. The Zoom call is so we can meet and talk about your editing needs and talk through any questions you have, and you’ll also get to show me how you like to edit a few of your images. This allows me to not just see your style but get a sense of your workflow and what’s most important to you as you make adjustments. I’ll be asking questions and taking notes. We’ll go over how file sharing works and set up our working timeline so that everything is smooth and predictable when we start working together.
You can have as much time as you need after our Zoom to decide if I’m the right editor for you. Once you let me know, I’ll set up a shared Dropbox folder for us to share files and for you to place any presets you use, and I’ll send you our contract to review and sign (see FAQ about contracts at the bottom).
What does working together look like?
After you shoot a wedding or session, you’ll edit “anchor” images which are various photos throughout your shoot that you edit like normal so I can see exactly what you want your editing to look like throughout various lighting situations in the gallery. (Many wedding photographers who do sneak peeks for their couples use those photos as their anchors.) Then you’ll export the whole gallery as a Smart Previews Catalog and place it in a shared Dropbox folder that I’ll set up for you. I edit and export the edited photos as a Smart Previews Catalog in our Dropbox folder, and you’ll import it back into your original catalog. Don’t worry — I’ll show you how to export/re-import, and it’s really easy 🙂 I’ll then send you an email with notes about the editing so you can look at those photos and make adjustments as needed. You can reply with any feedback you’d like me to know for next time.
Do I have to send you everything I shoot?
Nope! You simply email me with the dates of galleries you’d like me to edit and I add them to my calendar. I ask that you follow through and actually send what you schedule with me. Not doing so is like having a client ghost you right before a shoot, but at least you’ve already gotten paid a retainer — I get nothing, and I like that I can trust my clients to follow through so that I don’t have to implement editing retainers. If you have dates you’re not sure about, I schedule those as “maybes” so I know they aren’t definite but my schedule is set up to accommodate it. Some of my clients send me everything they shoot and some only send certain things. It’s up to you with what your business needs are.
How long does it take to get my edited photos back?
I utilize a customized Submission Day and Turnaround Time for each client so our working timeline is smooth and predictable for both of us. The Submission Day is simply the day you set that you agree to send work to me, so think about your workflow and what’s realistic for you and works for you. This allows me to schedule your work along with my other clients so that I get galleries completed on time for everyone rather than fly by the seat of my pants and potentially return things late!
Some clients like to set a day of the week — they send me galleries every Thursday, for example. Some clients like to send wedding galleries 4 business days after they shot them (so they send a Saturday wedding the following Thursday, a Sunday wedding the following Friday) and engagement sessions 3 business days after (so they send a Thursday engagement the following Tuesday). Your Submission Day is what you decide will work for you.
Turnaround time begins either on your Submission Day or the day you send me a gallery (whichever is later) and is guaranteed as long as it’s submitted on time. I always try my absolute best to honor turnaround time if a client sends work late (and have successfully done so for five years), but I can’t guarantee it since I must guarantee on-time work first. We talk through all of this in the Zoom call to figure out what works best for you, and we can change it up if your chosen timeline isn’t working for you like you planned.
What if I don’t like how some of my photos turned out?
It’s normal to have a few adjustments to make after I’ve edited for you. But if you notice a trend that’s not quite right, I need to know about it! Your feedback is super important. This helps me learn to judge your images more like you do, thus fine tuning things on my end so you have less and less to adjust over time. If you don’t share what you’re seeing that needs to be done differently, I won’t know to do it different next time. So speak up! It’s normal for the first few galleries to need more attention from you after I’m finished. Remember: editing is highly subjective, so it takes a little time for me to learn how you judge an image and details like skin tone and overall tonal balance, and to know what you’d do without having to ask you. In the event that you are not happy with 50% or more of a gallery, I will re-edit the gallery at no additional charge.
When do I have to pay for my editing?
I send an invoice at the completion of each gallery. Payment is due within 5 business days.
Do I have to sign a contract? What does that entail?
Yes. I use an annual contract, so the terms we agree to will apply for the calendar year and you only have to sign once per year. The contract applies to any work you choose to send to me (so you are not contractually bound to send me anything). You are also not “locked in” with me, so you can choose to work with another editor simultaneously or instead of (for example, some clients send newborn work to an editor who specializes in newborn editing while sending weddings/sessions to another editor).
If at any point you needed to change certain things outlined in the contract (submission day, turnaround time) we can do that. I’ll send you a cancellation of the current contract and send a new one with the changes to apply for the remainder of the year for you to sign.
Need a different question answered? Email me:
LaurenRippleLLC@gmail.com
© 2023 Lauren Ripple LLC
The very best
Chocolate Chip Cookies

Did I mention that I love chocolate chip cookies? I do, so much. It’s so bad 😂 so it’s only fitting I share my favorite recipe with you! These are super easy and delicious, soft baked chocolate chip cookies. Not crunchy or gooey - perfectly soft. This recipe yields 12 large cookies or 24 small cookies.
Ingredients:
8 Tbsp (1 stick) softened salted butter
1/2 Cup white sugar
1/4 Cup packed light brown sugar
1 tsp vanilla
1 egg
1 1/2 Cups all-purpose flour
1/2 tsp baking soda
1/4 tsp salt
3/4 Cup chocolate chips
1. Preheat oven to 350 degrees.
2. Soften butter - I like to let mine sit out overnight, and then microwave on high for only 5 seconds. If you’re starting with cold butter, microwave on high for 5-second increments until very soft. It doesn’t need to be liquified, but if a little of it completely melts that’s okay.
3. Use a stand mixer or electric beaters to combine the butter, white sugar and brown sugar until creamy.
4. Add the vanilla and egg; beat on low speed until the egg is just incorporated (10-15 seconds or so). If you beat the egg too long, the cookies will be stiff.
5. Add the flour, baking soda and salt. Beat until uniformly mixed and large crumbles have formed. Use your hands to press the crumbles together into a dough. It should form one large ball that’s easy to handle, right at the stage between “wet” dough and “dry” dough. (If it’s wet / sticking to your hands, add 2 Tbsp of flour and mix by hand. Repeat as needed until the dough is easy to handle without being sticky or crumbly.)
6. Add the chocolate chips!
7. Roll the dough into 2” balls for about 12 large cookies or about 1 1/2” balls for about 24 smaller cookies. Bake for 9-11 minutes until the cookies look puffy and dry. Do not overbake! They may look like they aren’t done yet - they’ll be puffy and pale, and maybe just barely golden at the edges.
8. Once you pull the cookie sheet out of the oven, let the cookies remain on the sheet for ten minutes before removing them. Don’t take them off right away, even to place on a cooling rack - they need a few minutes to finish baking on the hot sheet and “rest”.
Enjoy! :)
Photo © 2023 Lauren Ripple LLC
 OH HEY, FOR BEST VIEWING, YOU'LL NEED TO TURN YOUR PHONE