Mom Made Blog

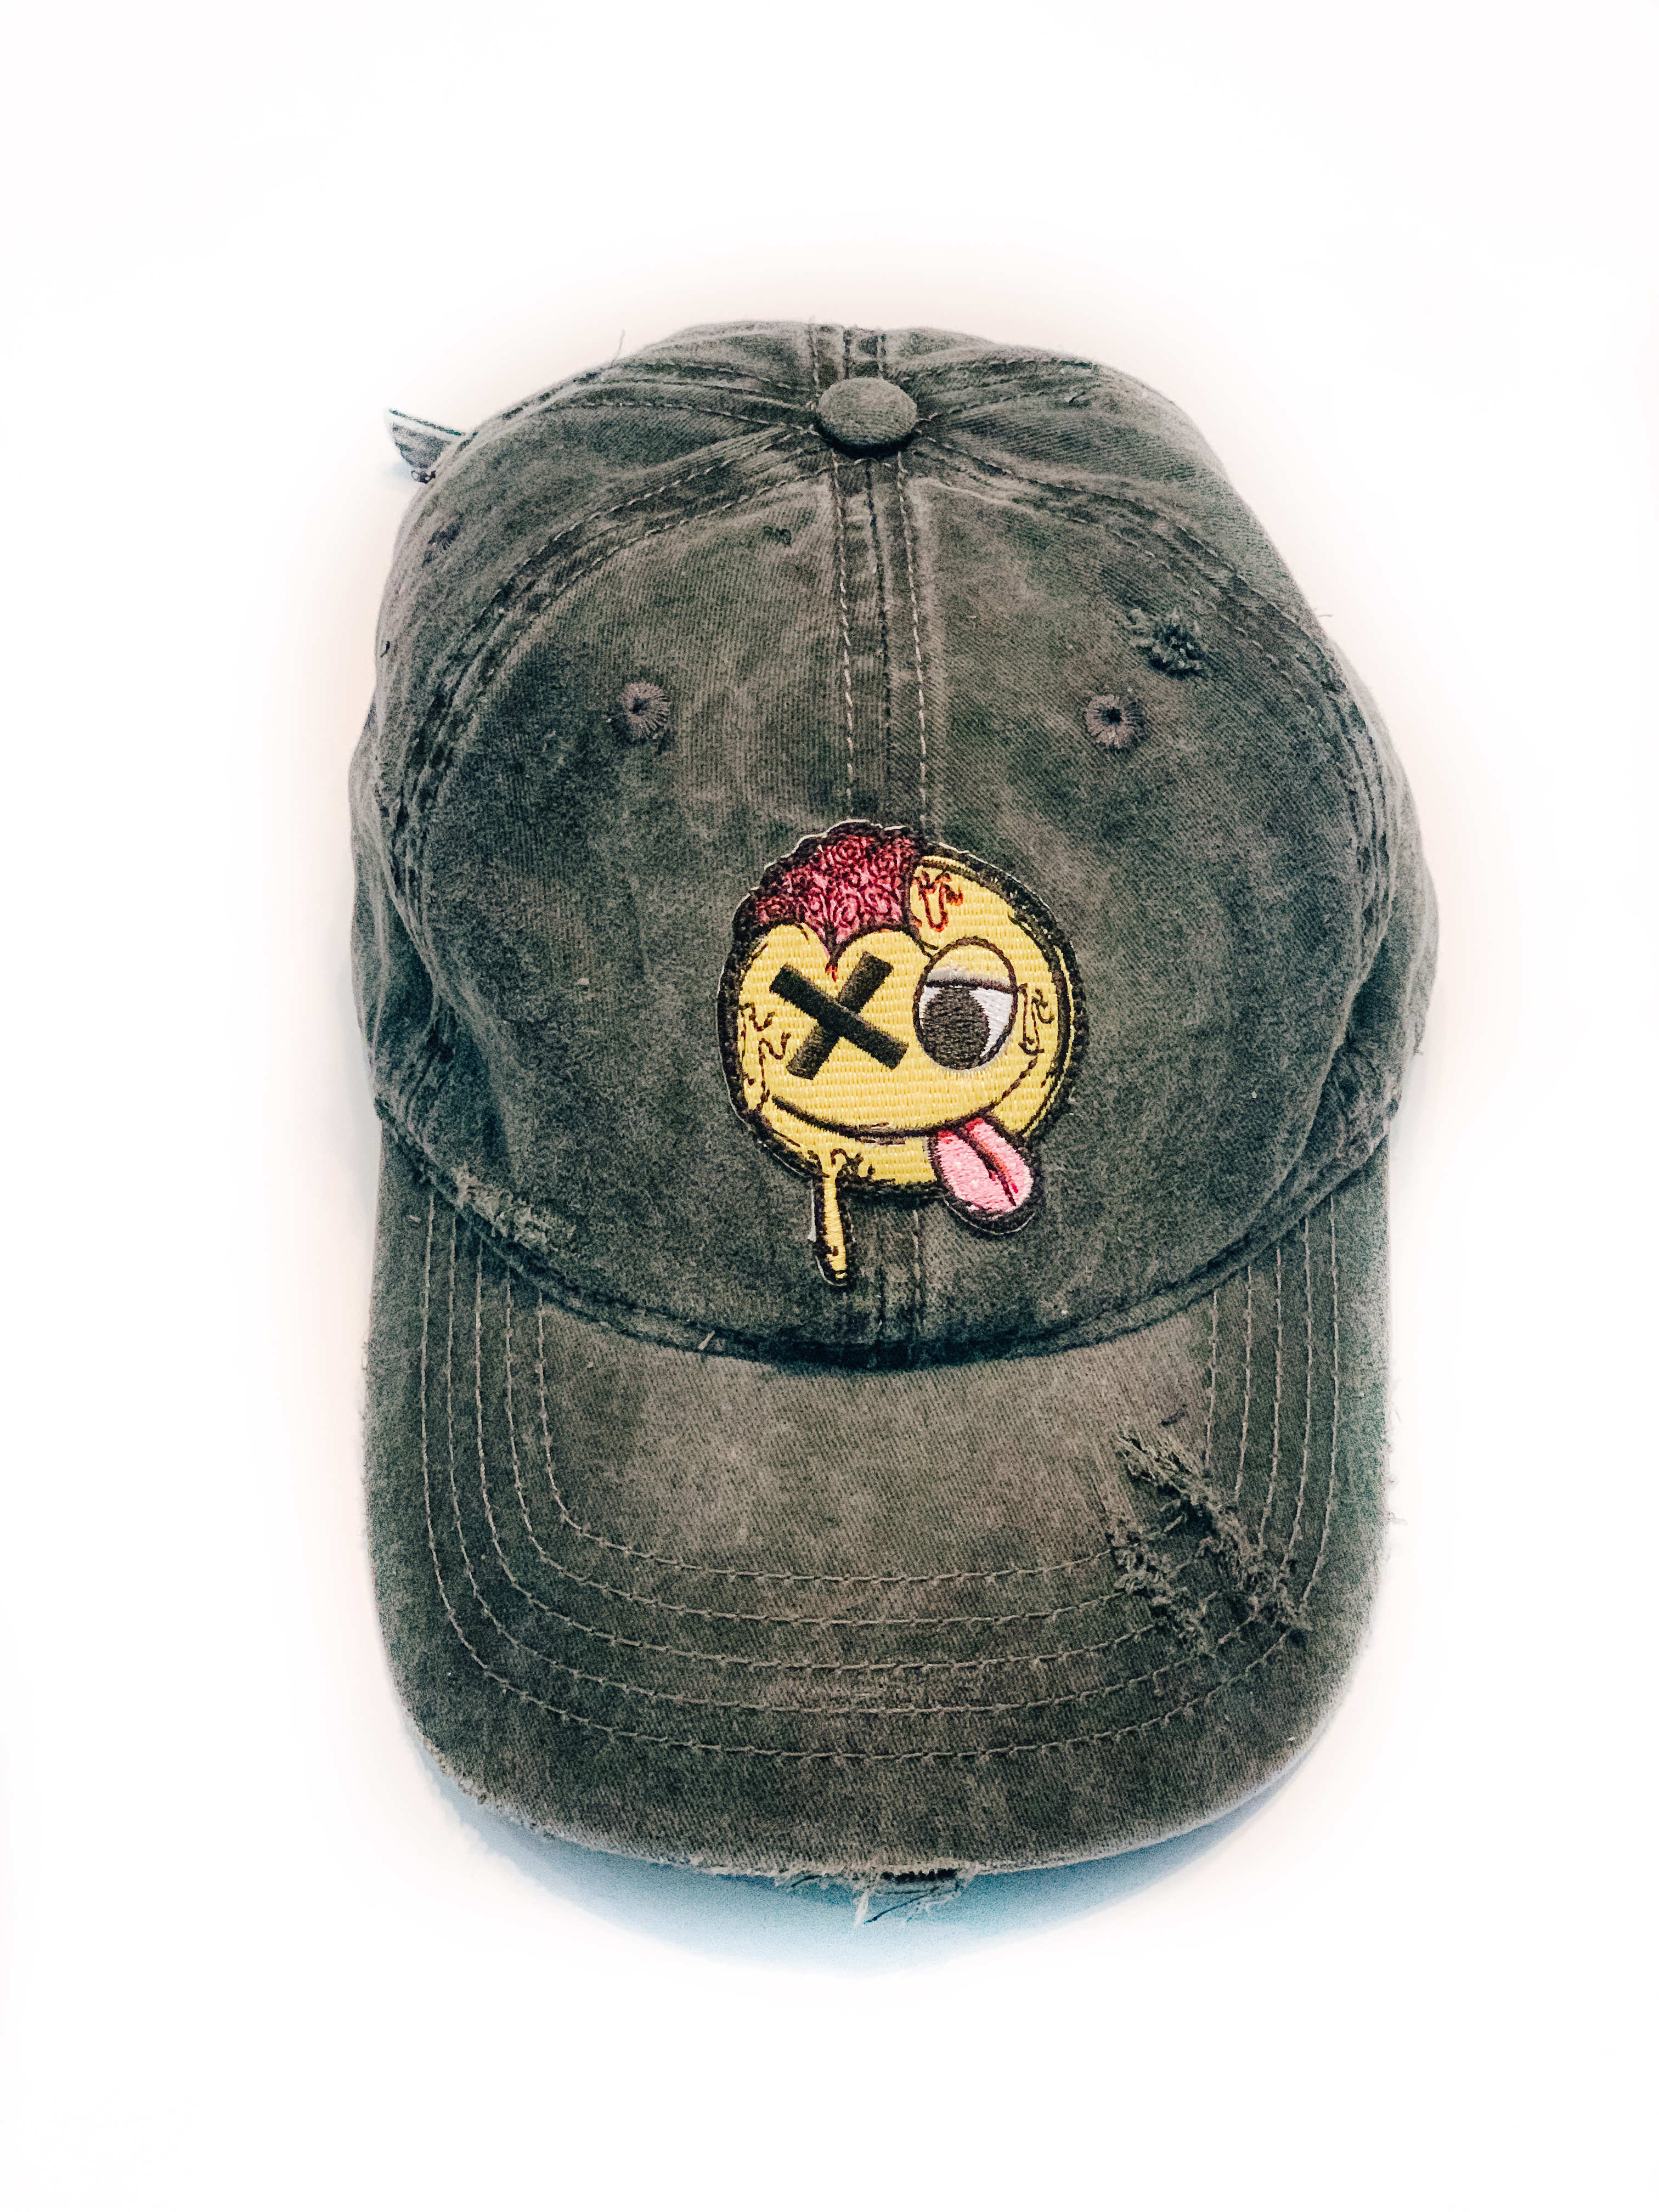
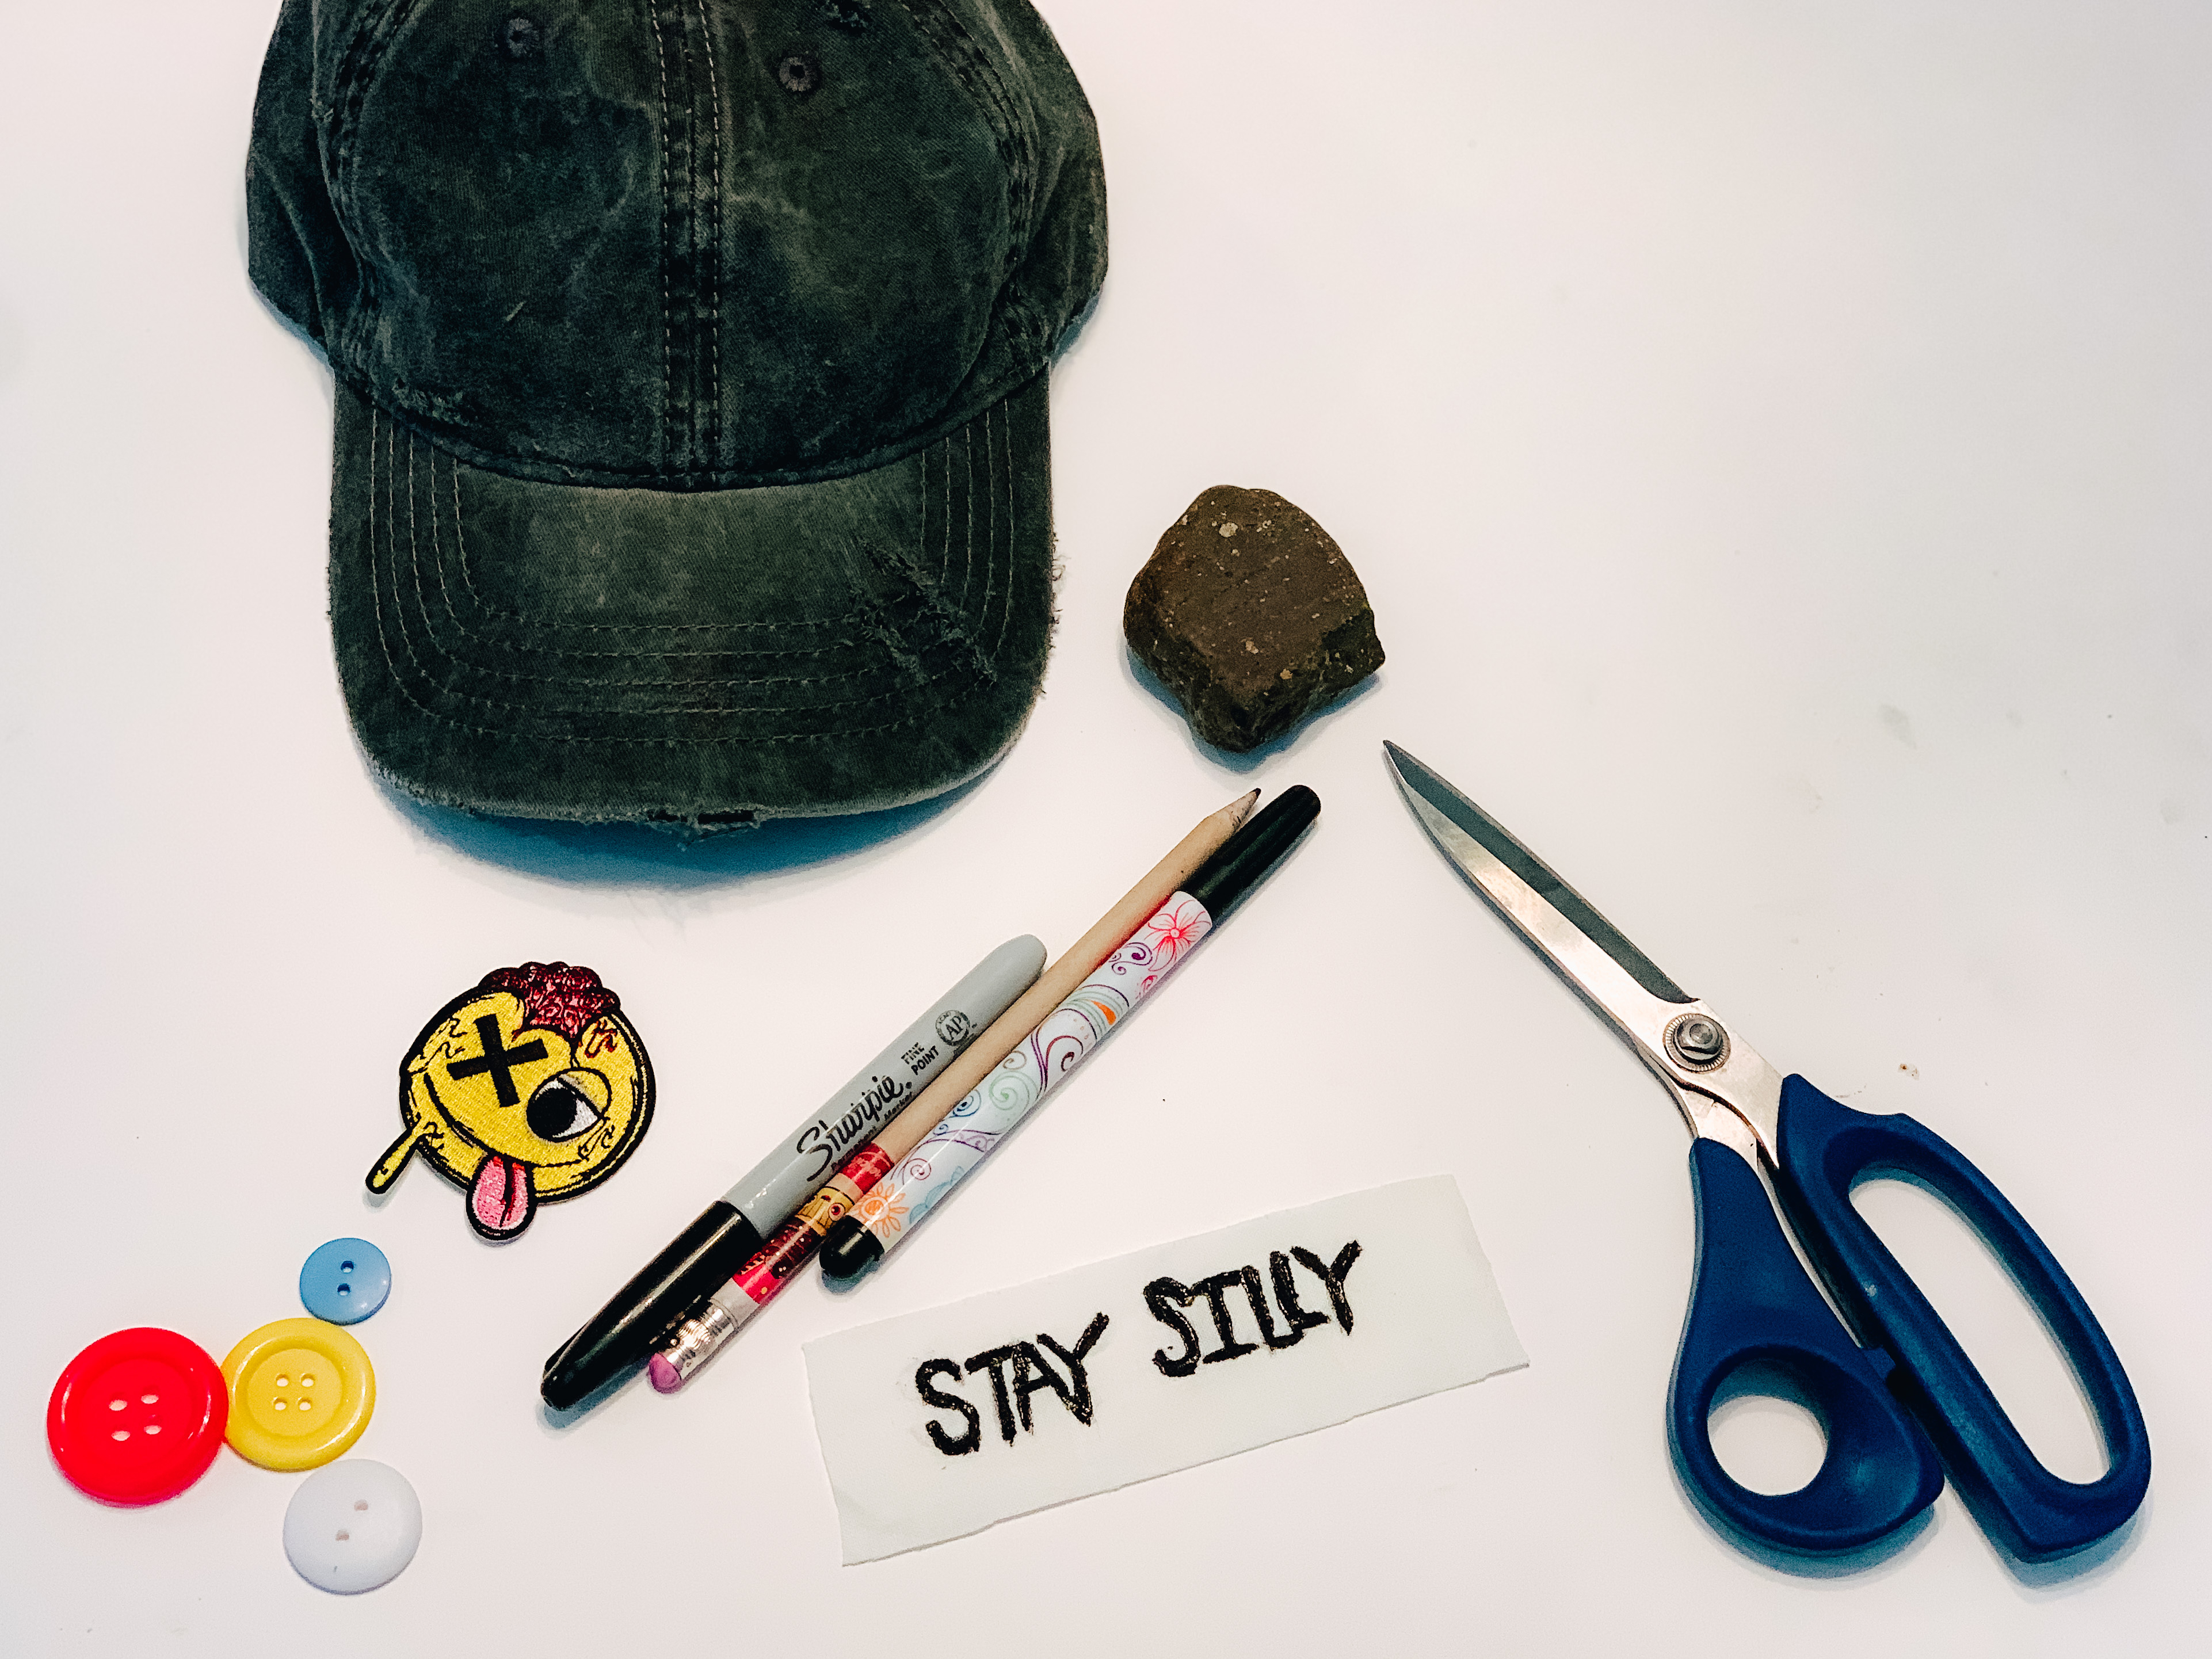
•Hat (I got this one from Walmart for under $5)
•Scissors
•Rock
•Patch (optional) I got mine from Macaloo
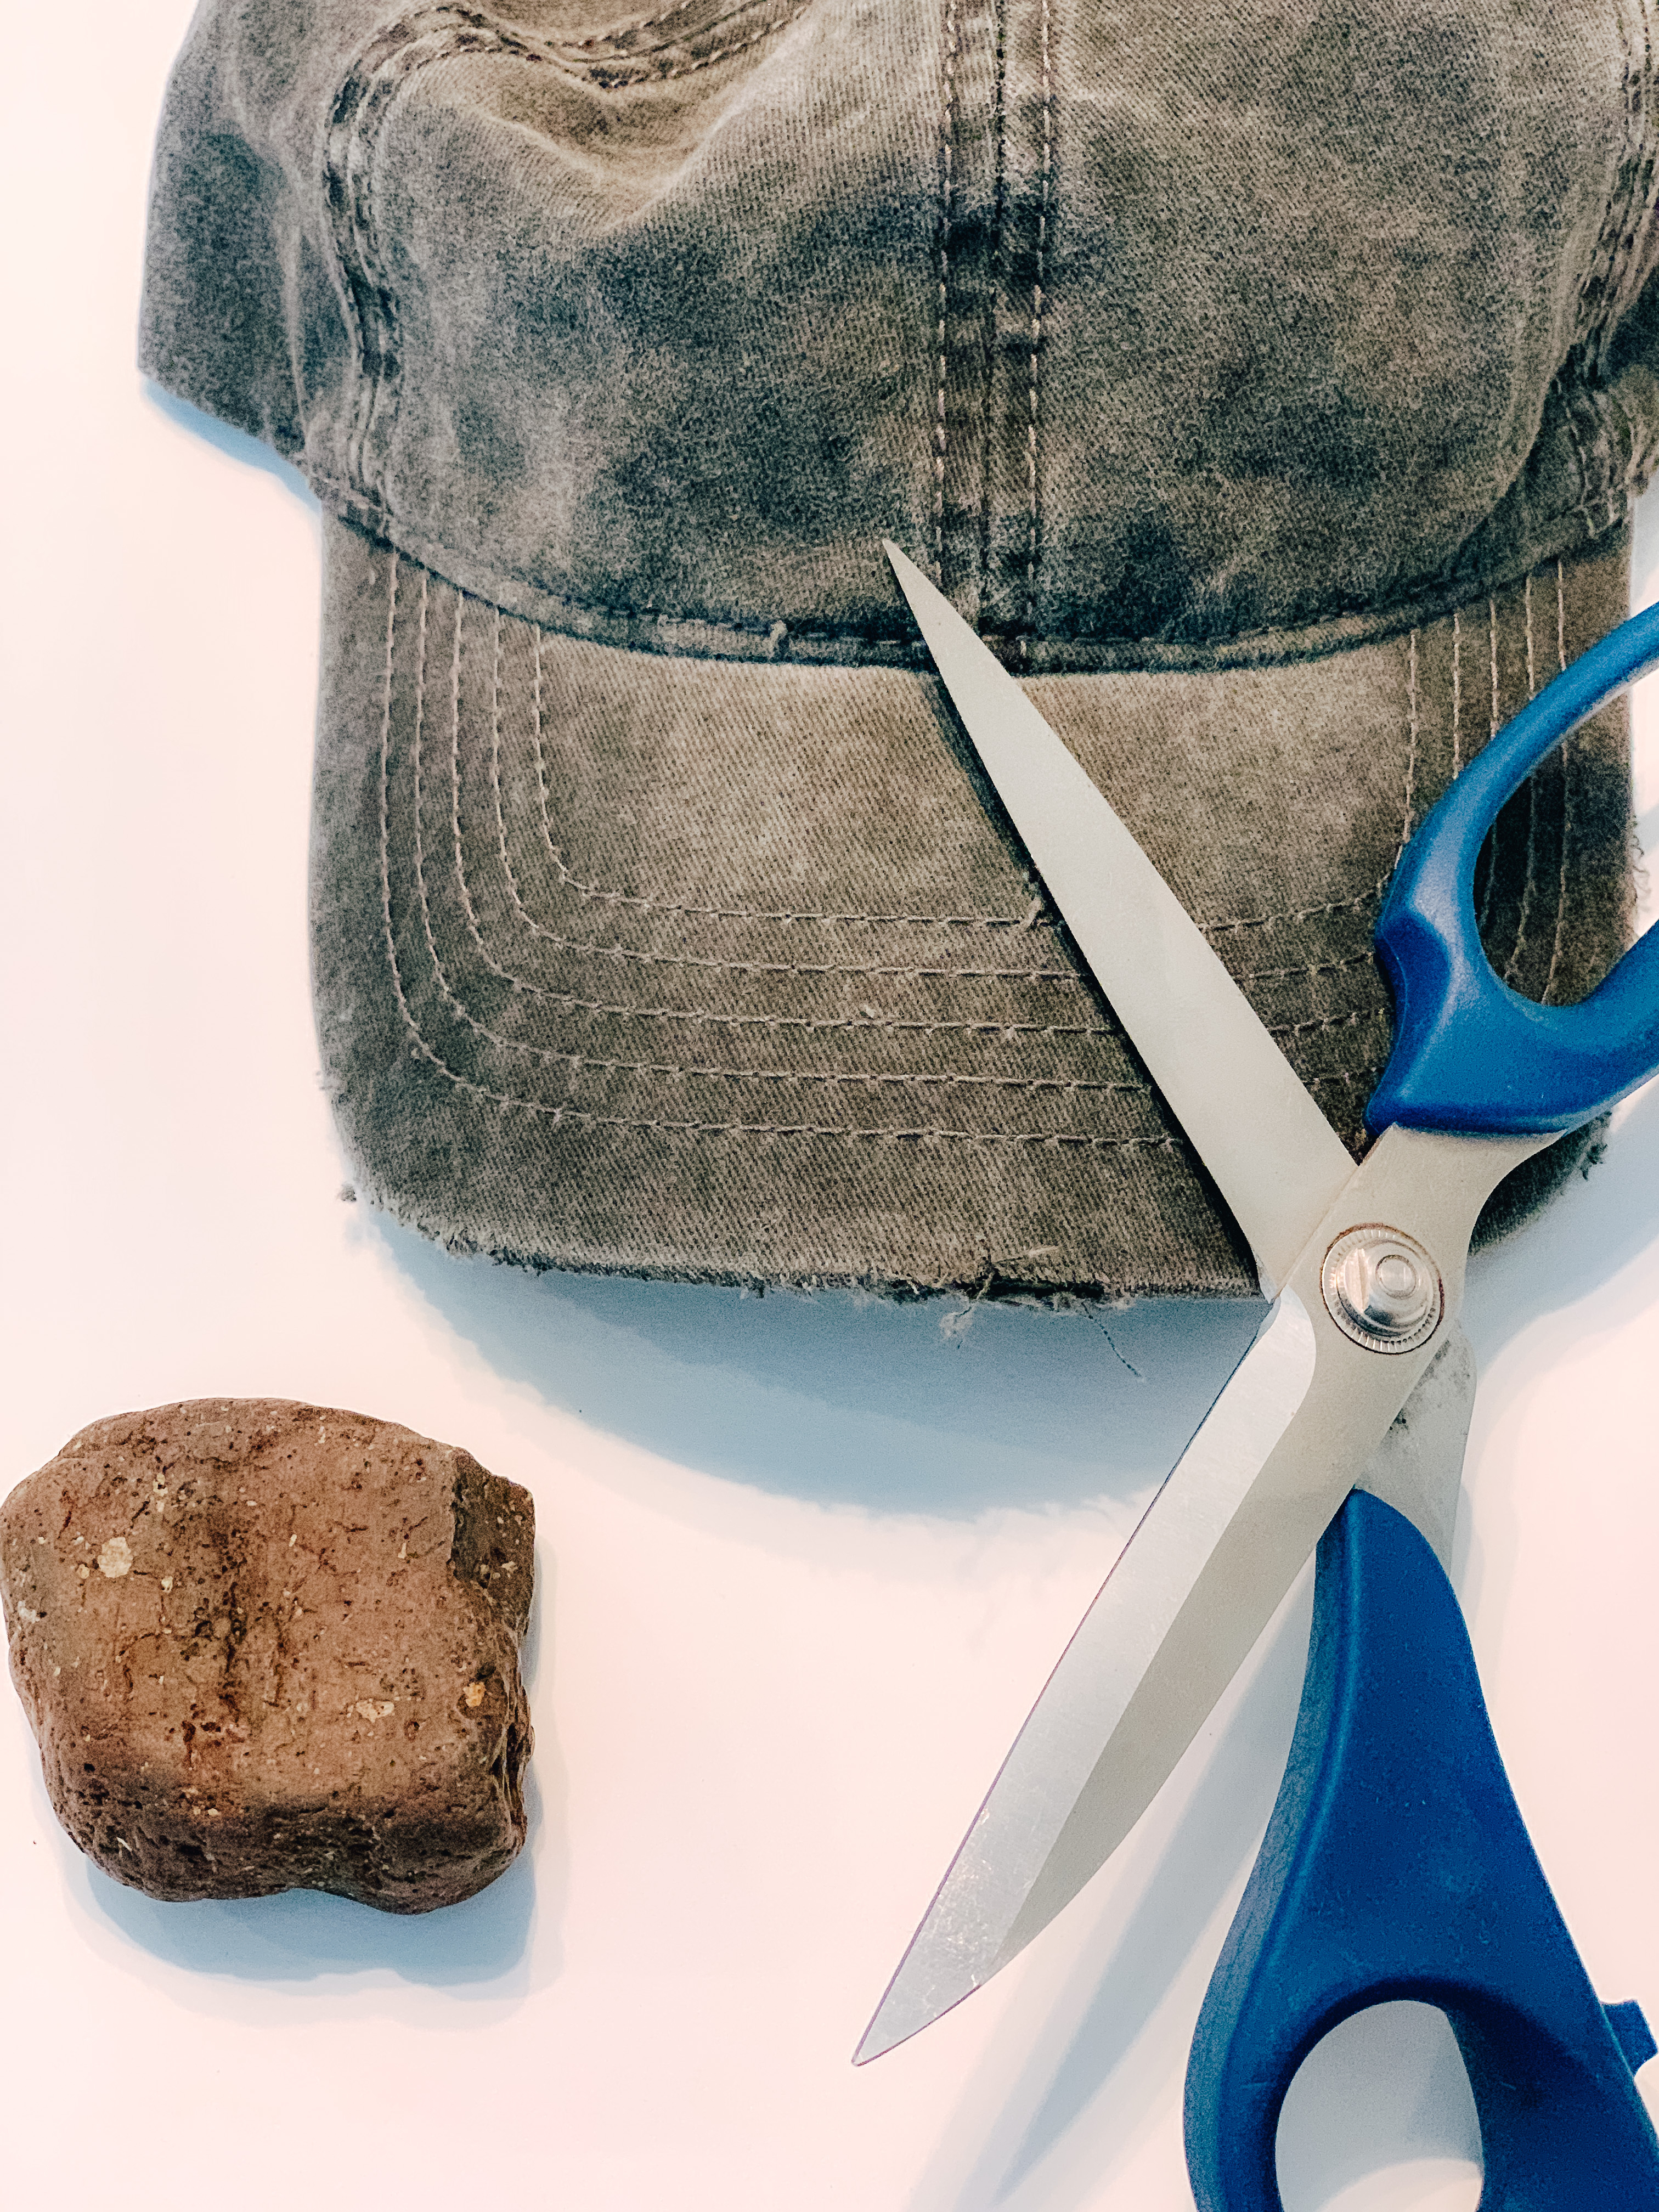
Start by using your rock to mark out where you want the distressing. The rock will soften the fabric making it easier to distress and leave a mark to use as a guide to know where to distress.
Once the spots are marked with the rock open your scissors & with the blade rub across all the spots you marked out and distress to your liking. Along the brim I like to make the front one more distressed showing the brim and the sides less distressed.
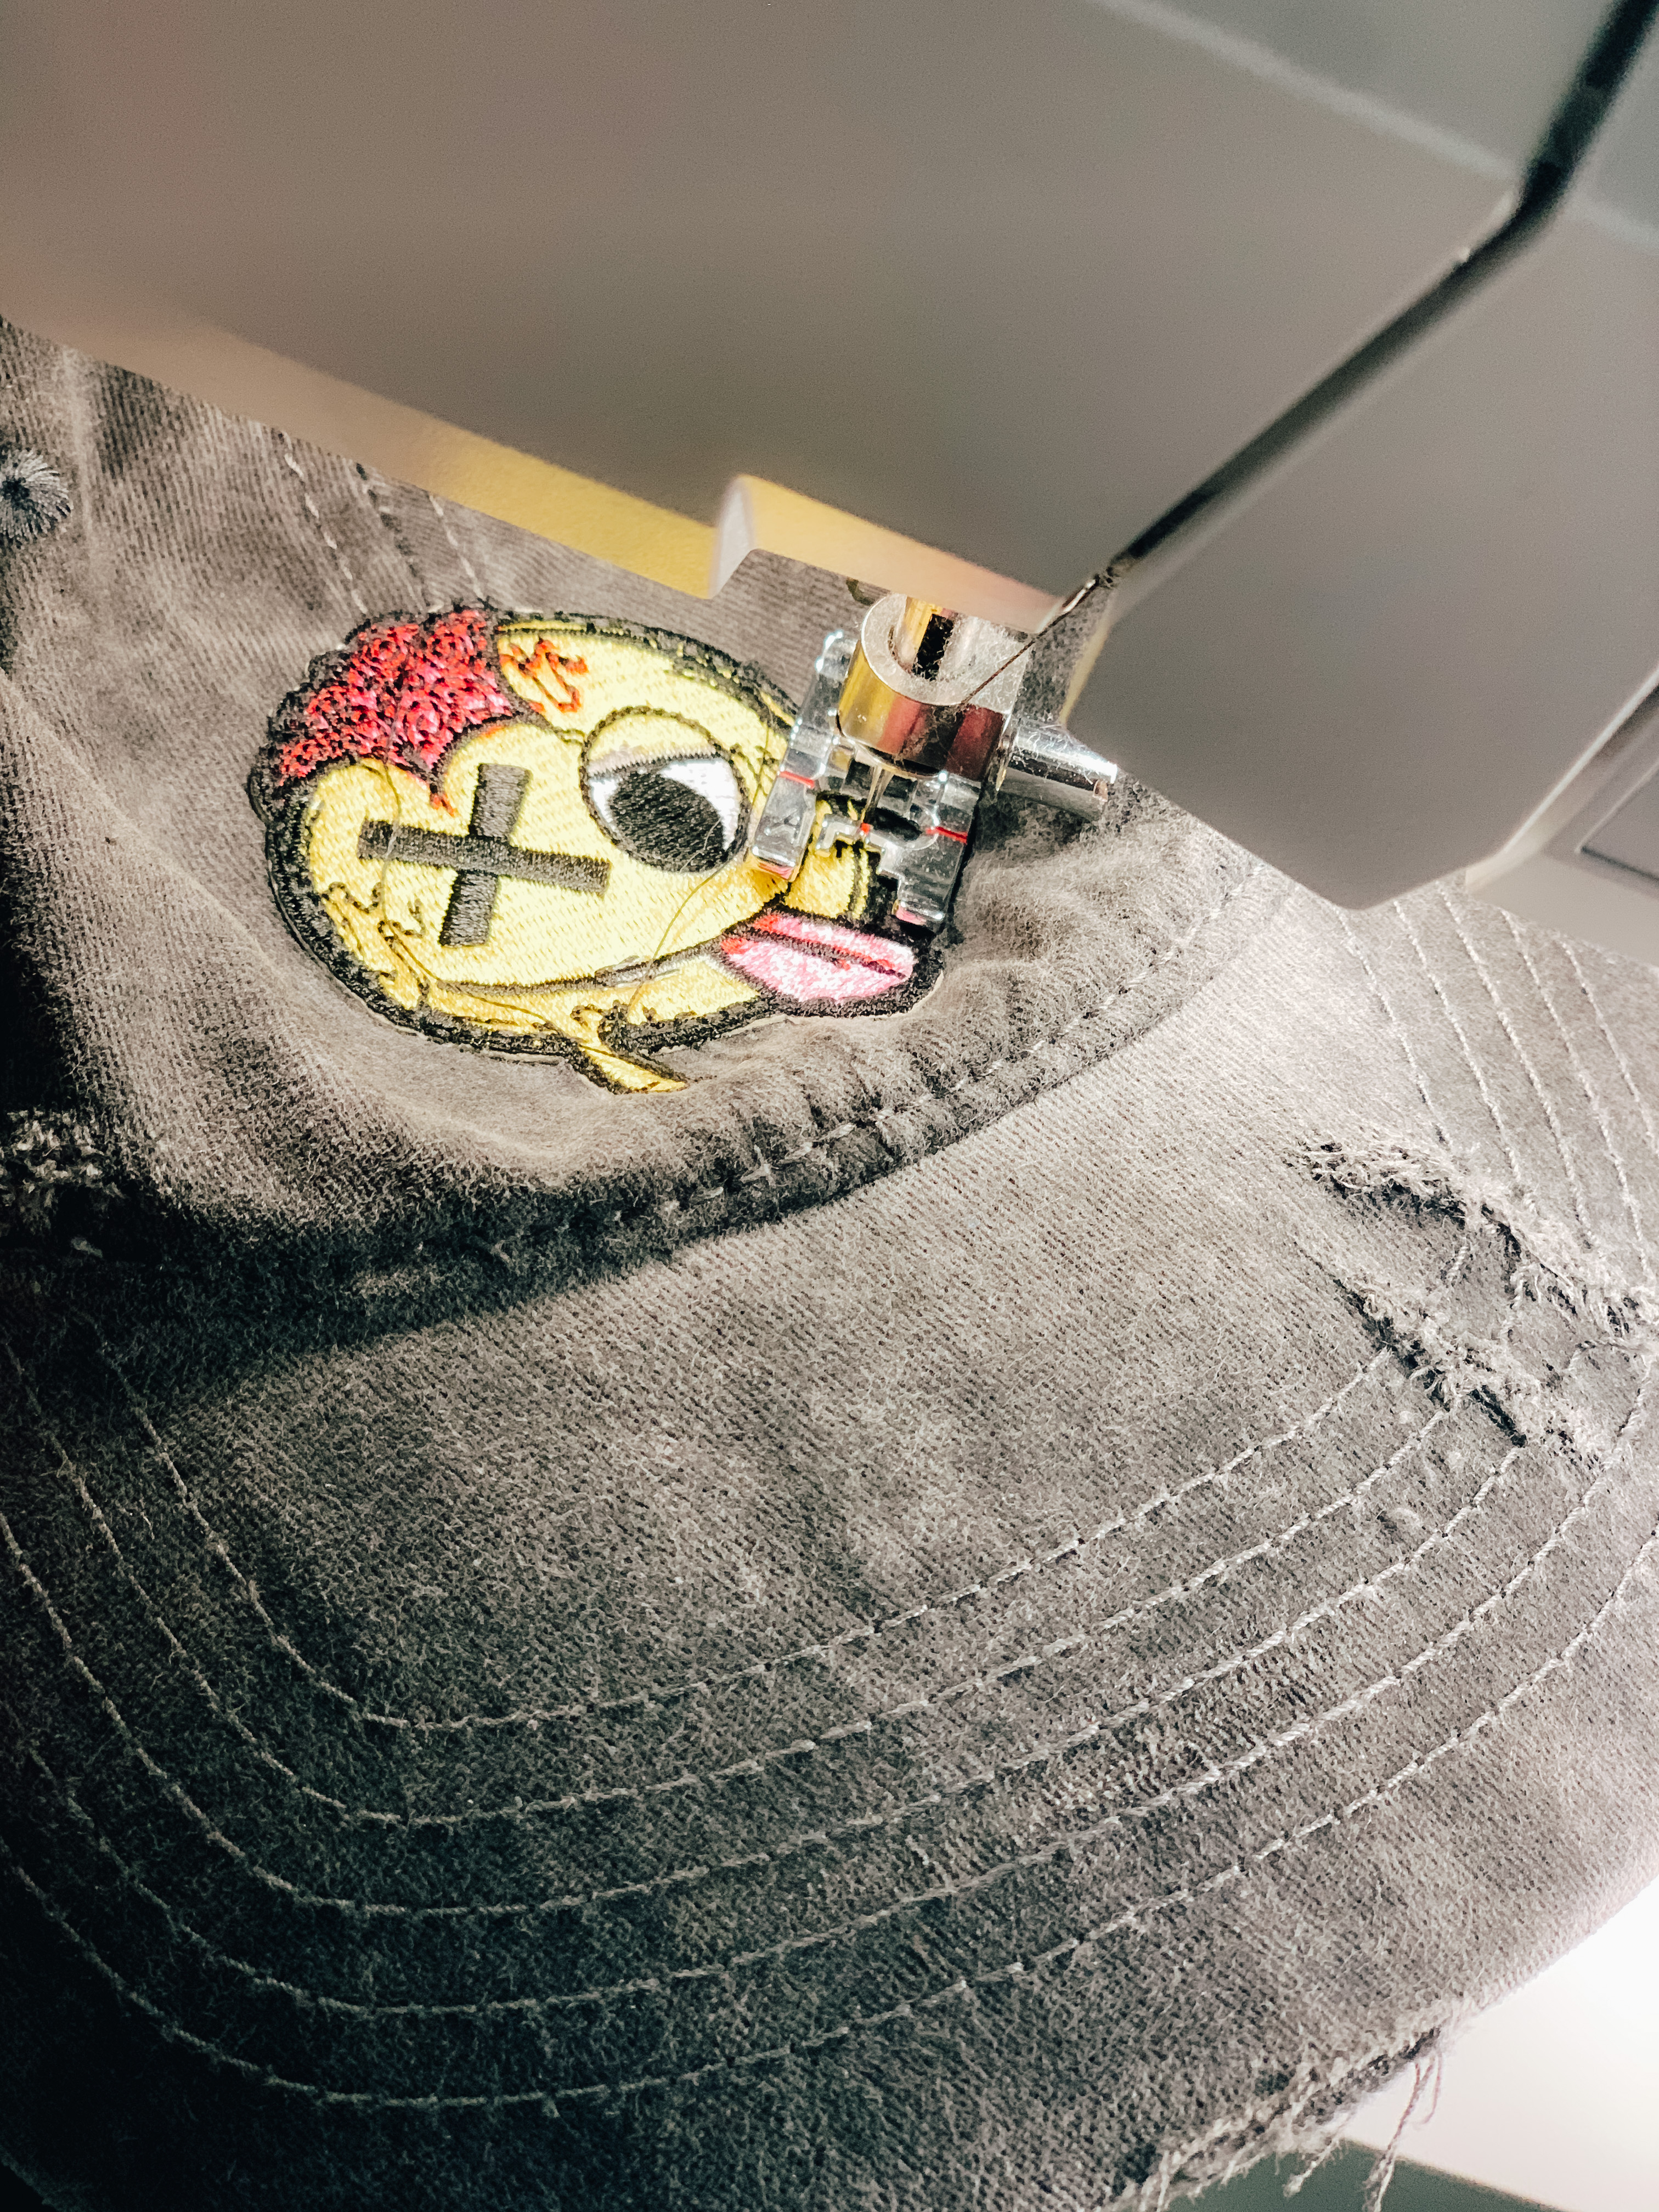
After distressing your hat you can add an optional patch. Place where you want it. Iron it on or pin it if it doesn’t have an iron on backing.
Sew it down and trim the threads.
You can take it even further by adding buttons other patches painting it etc be creative and make it your own.
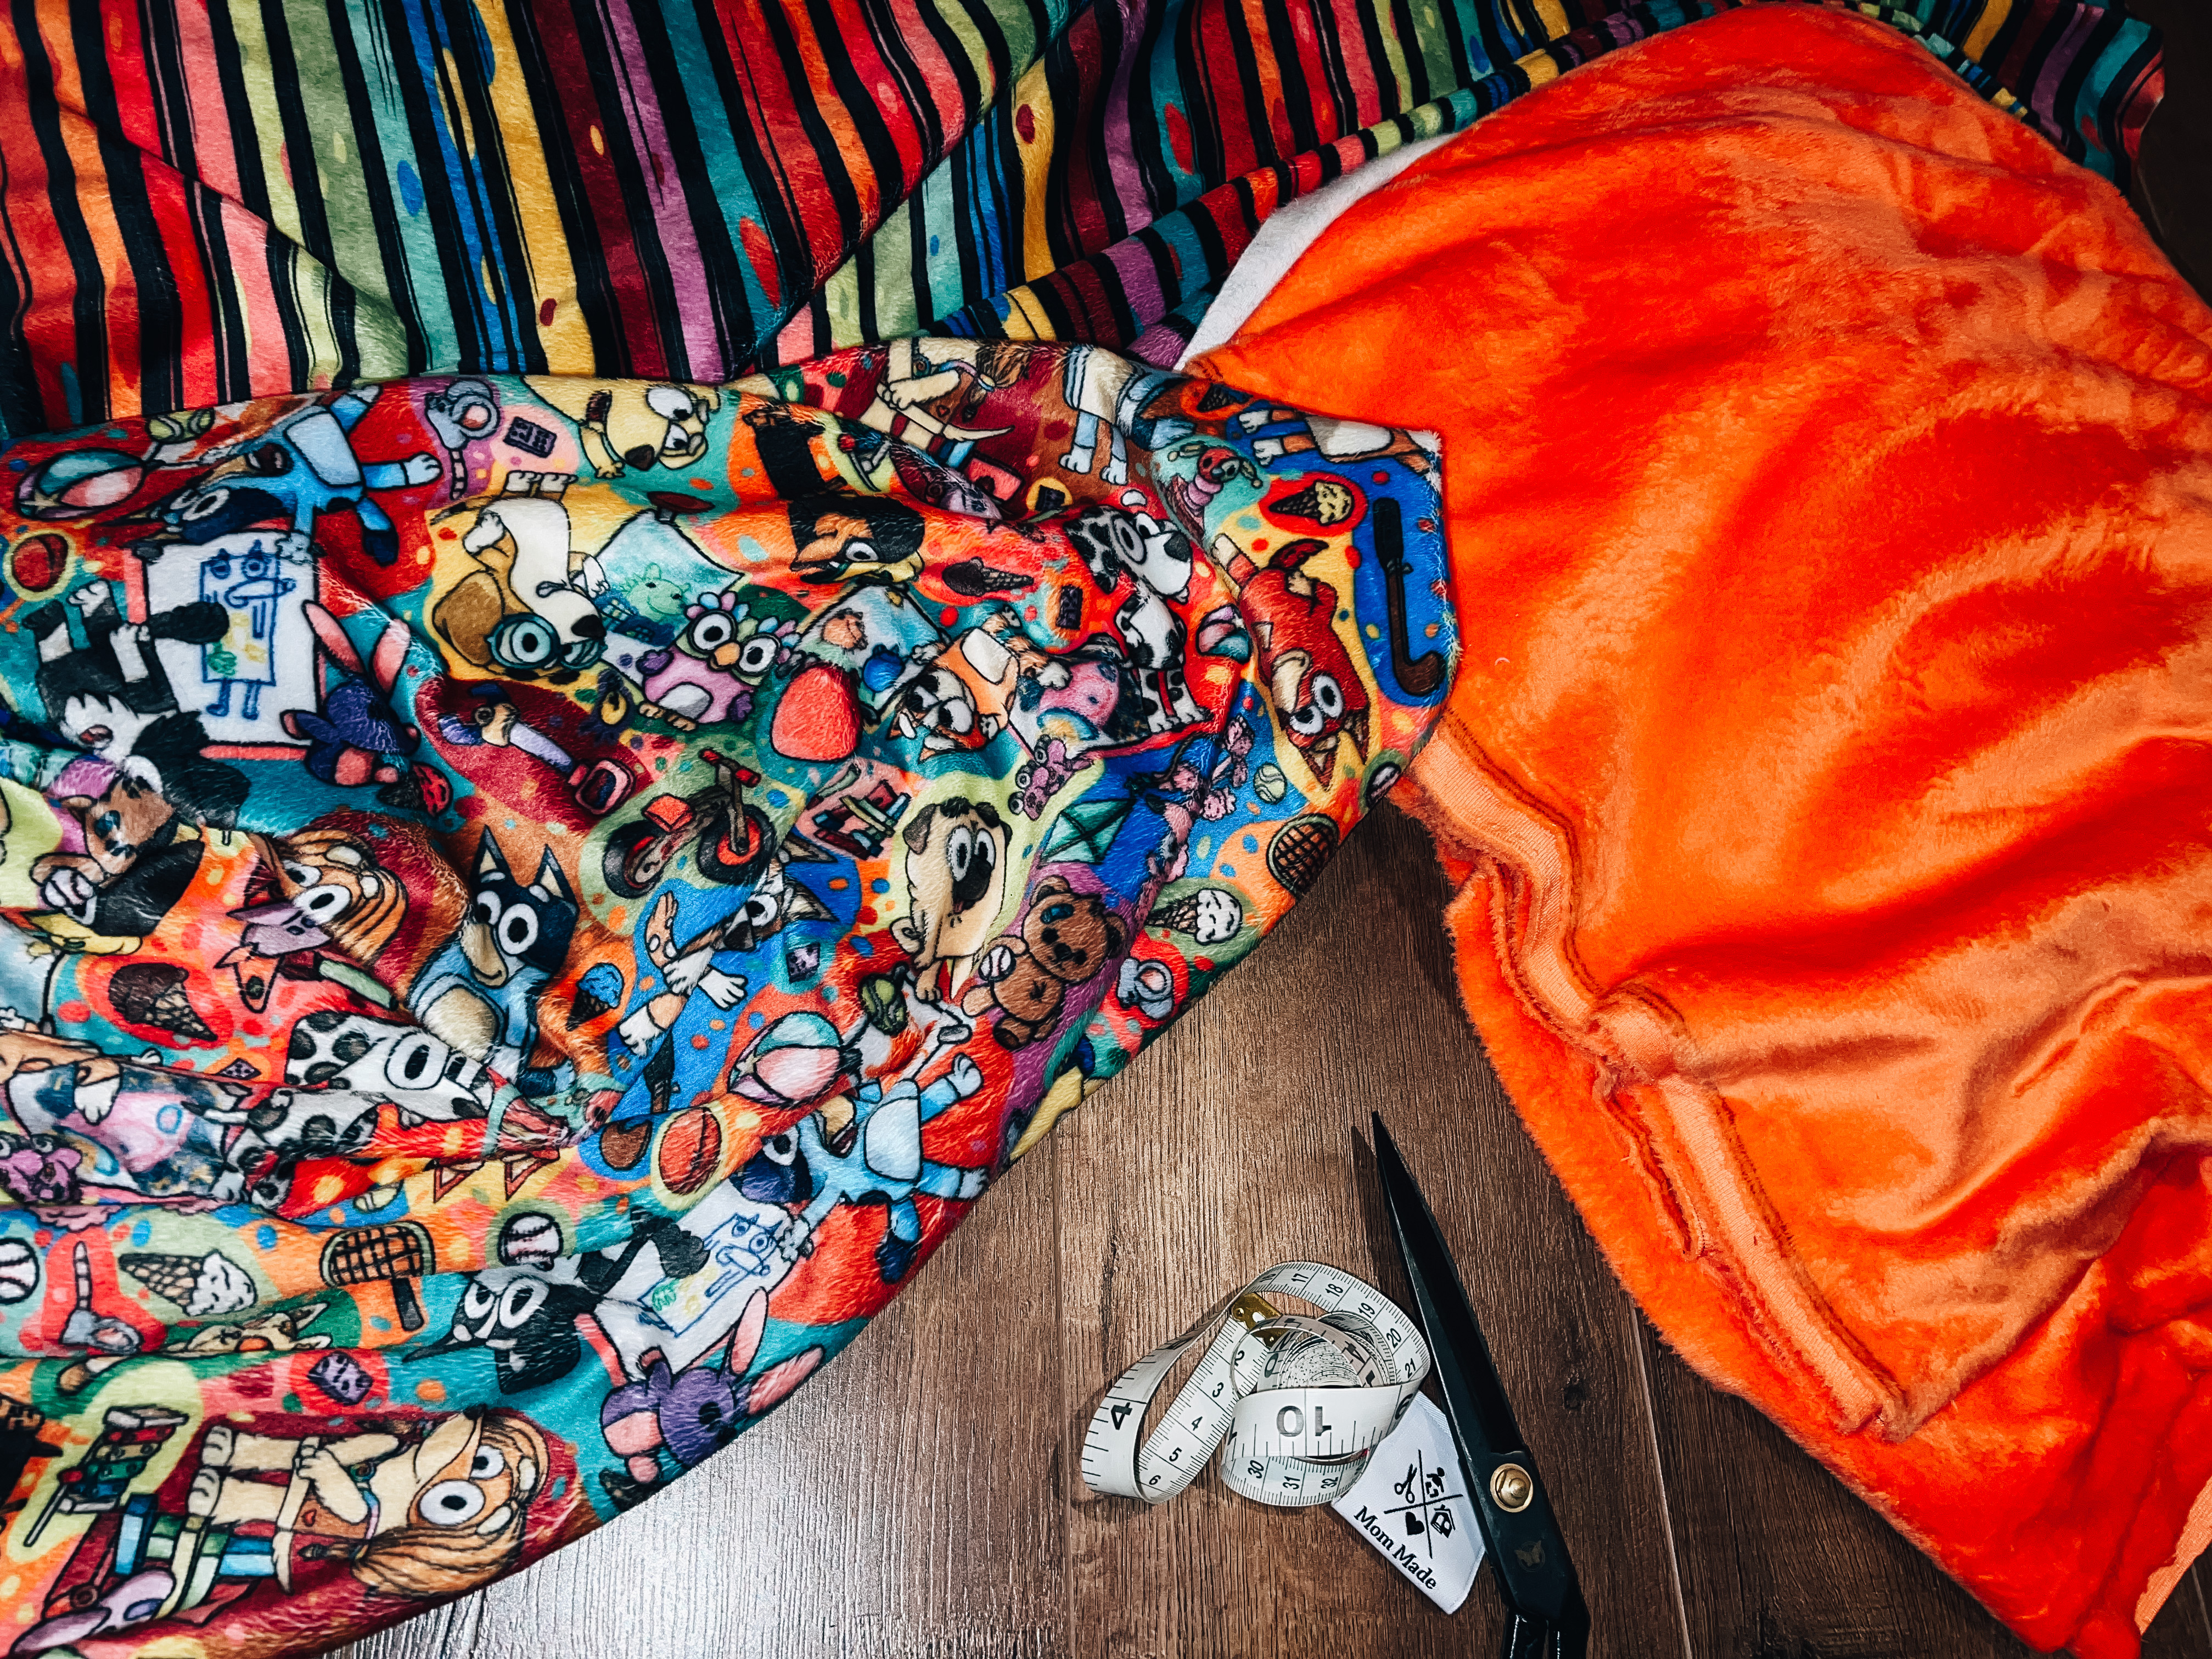
•You will need two FH’s of minky or plush one main and one coordinating
(the ones I used are from shear madness fabrics)
•two yards minky or plush for backing
•tape measure
•scissors or rotary cutter
•pins or clips

••••If you are starting with two yards (one main and one coordinating) cut your fabric into FH’s
FH’s are a yard cut in half hamburger style measuring approx 36” tall x 1/2 of wof••••
This project needs two FH’s
•set your main FH to the side
•cut your coordinating FH of minky into four strips:
Two strips measuring 5 1/2” x 36”
Two strips measuring 7” x 36”
There will be a small strip left (the scribbled out strip in the picture) we do not need this.
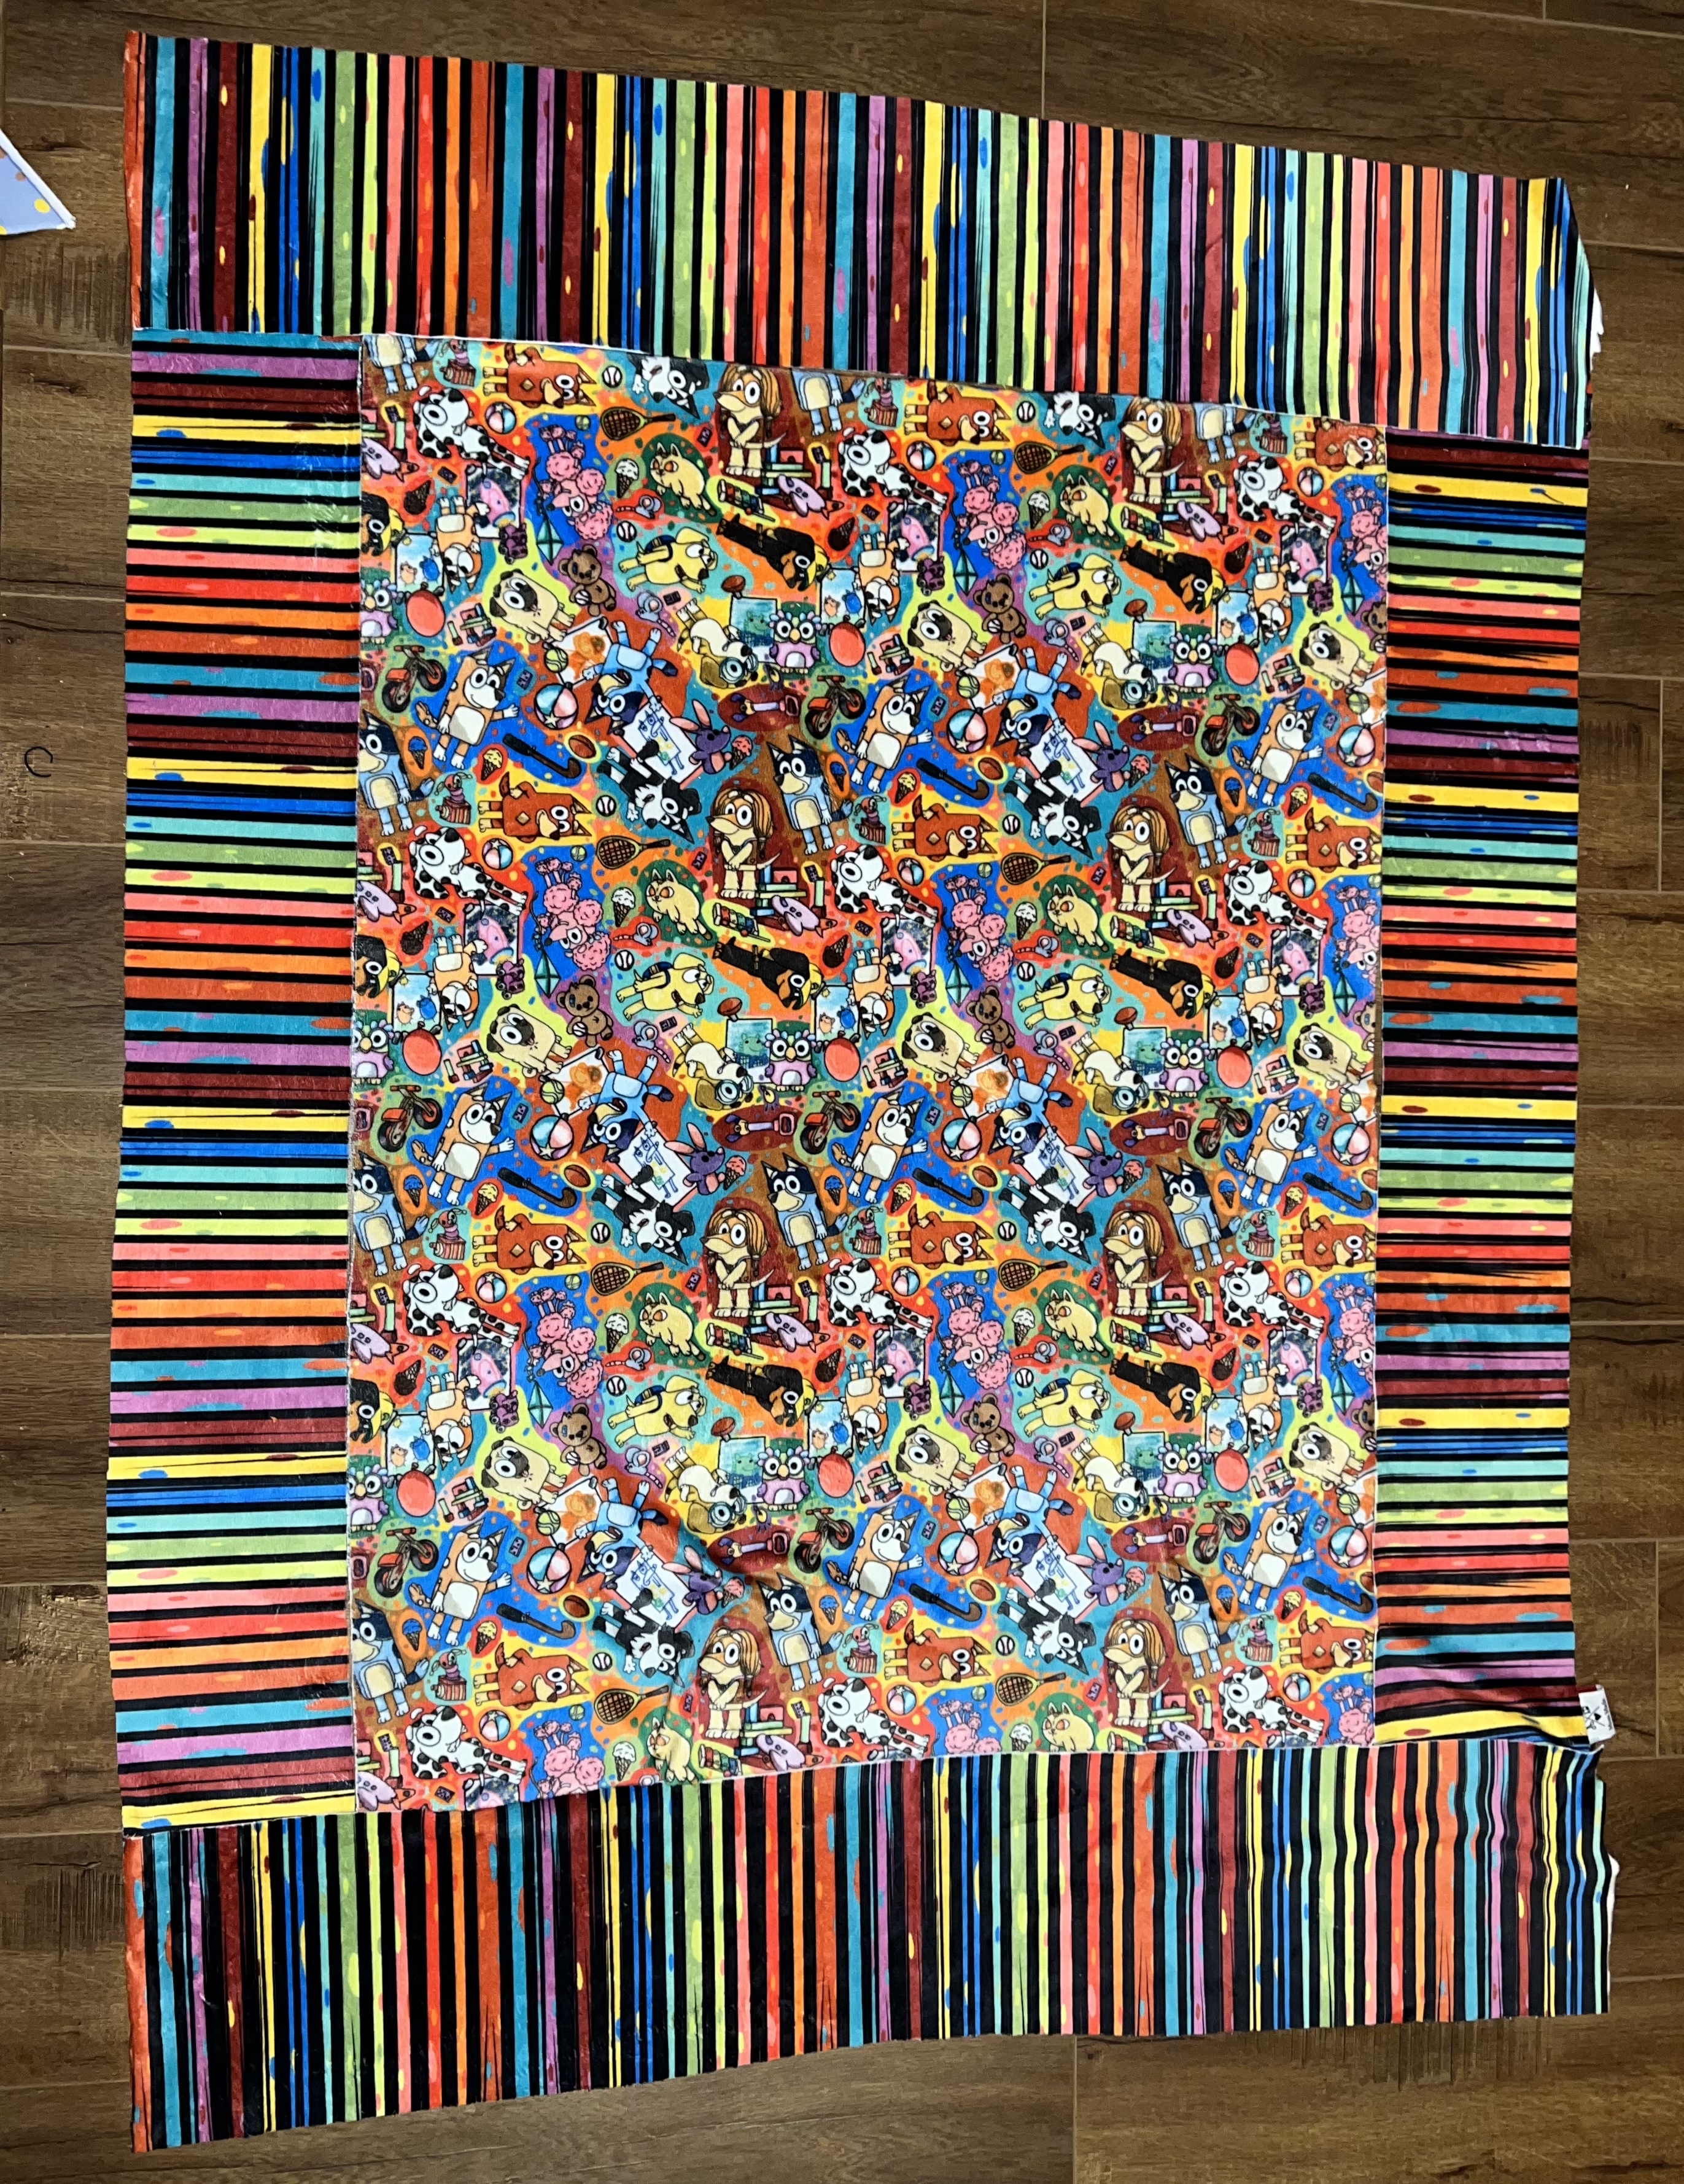
•lay out your main FH
•place your 5 1/2” strips on the sides of your main fabric
•place your 7” strips on the top and bottom of your main fabric
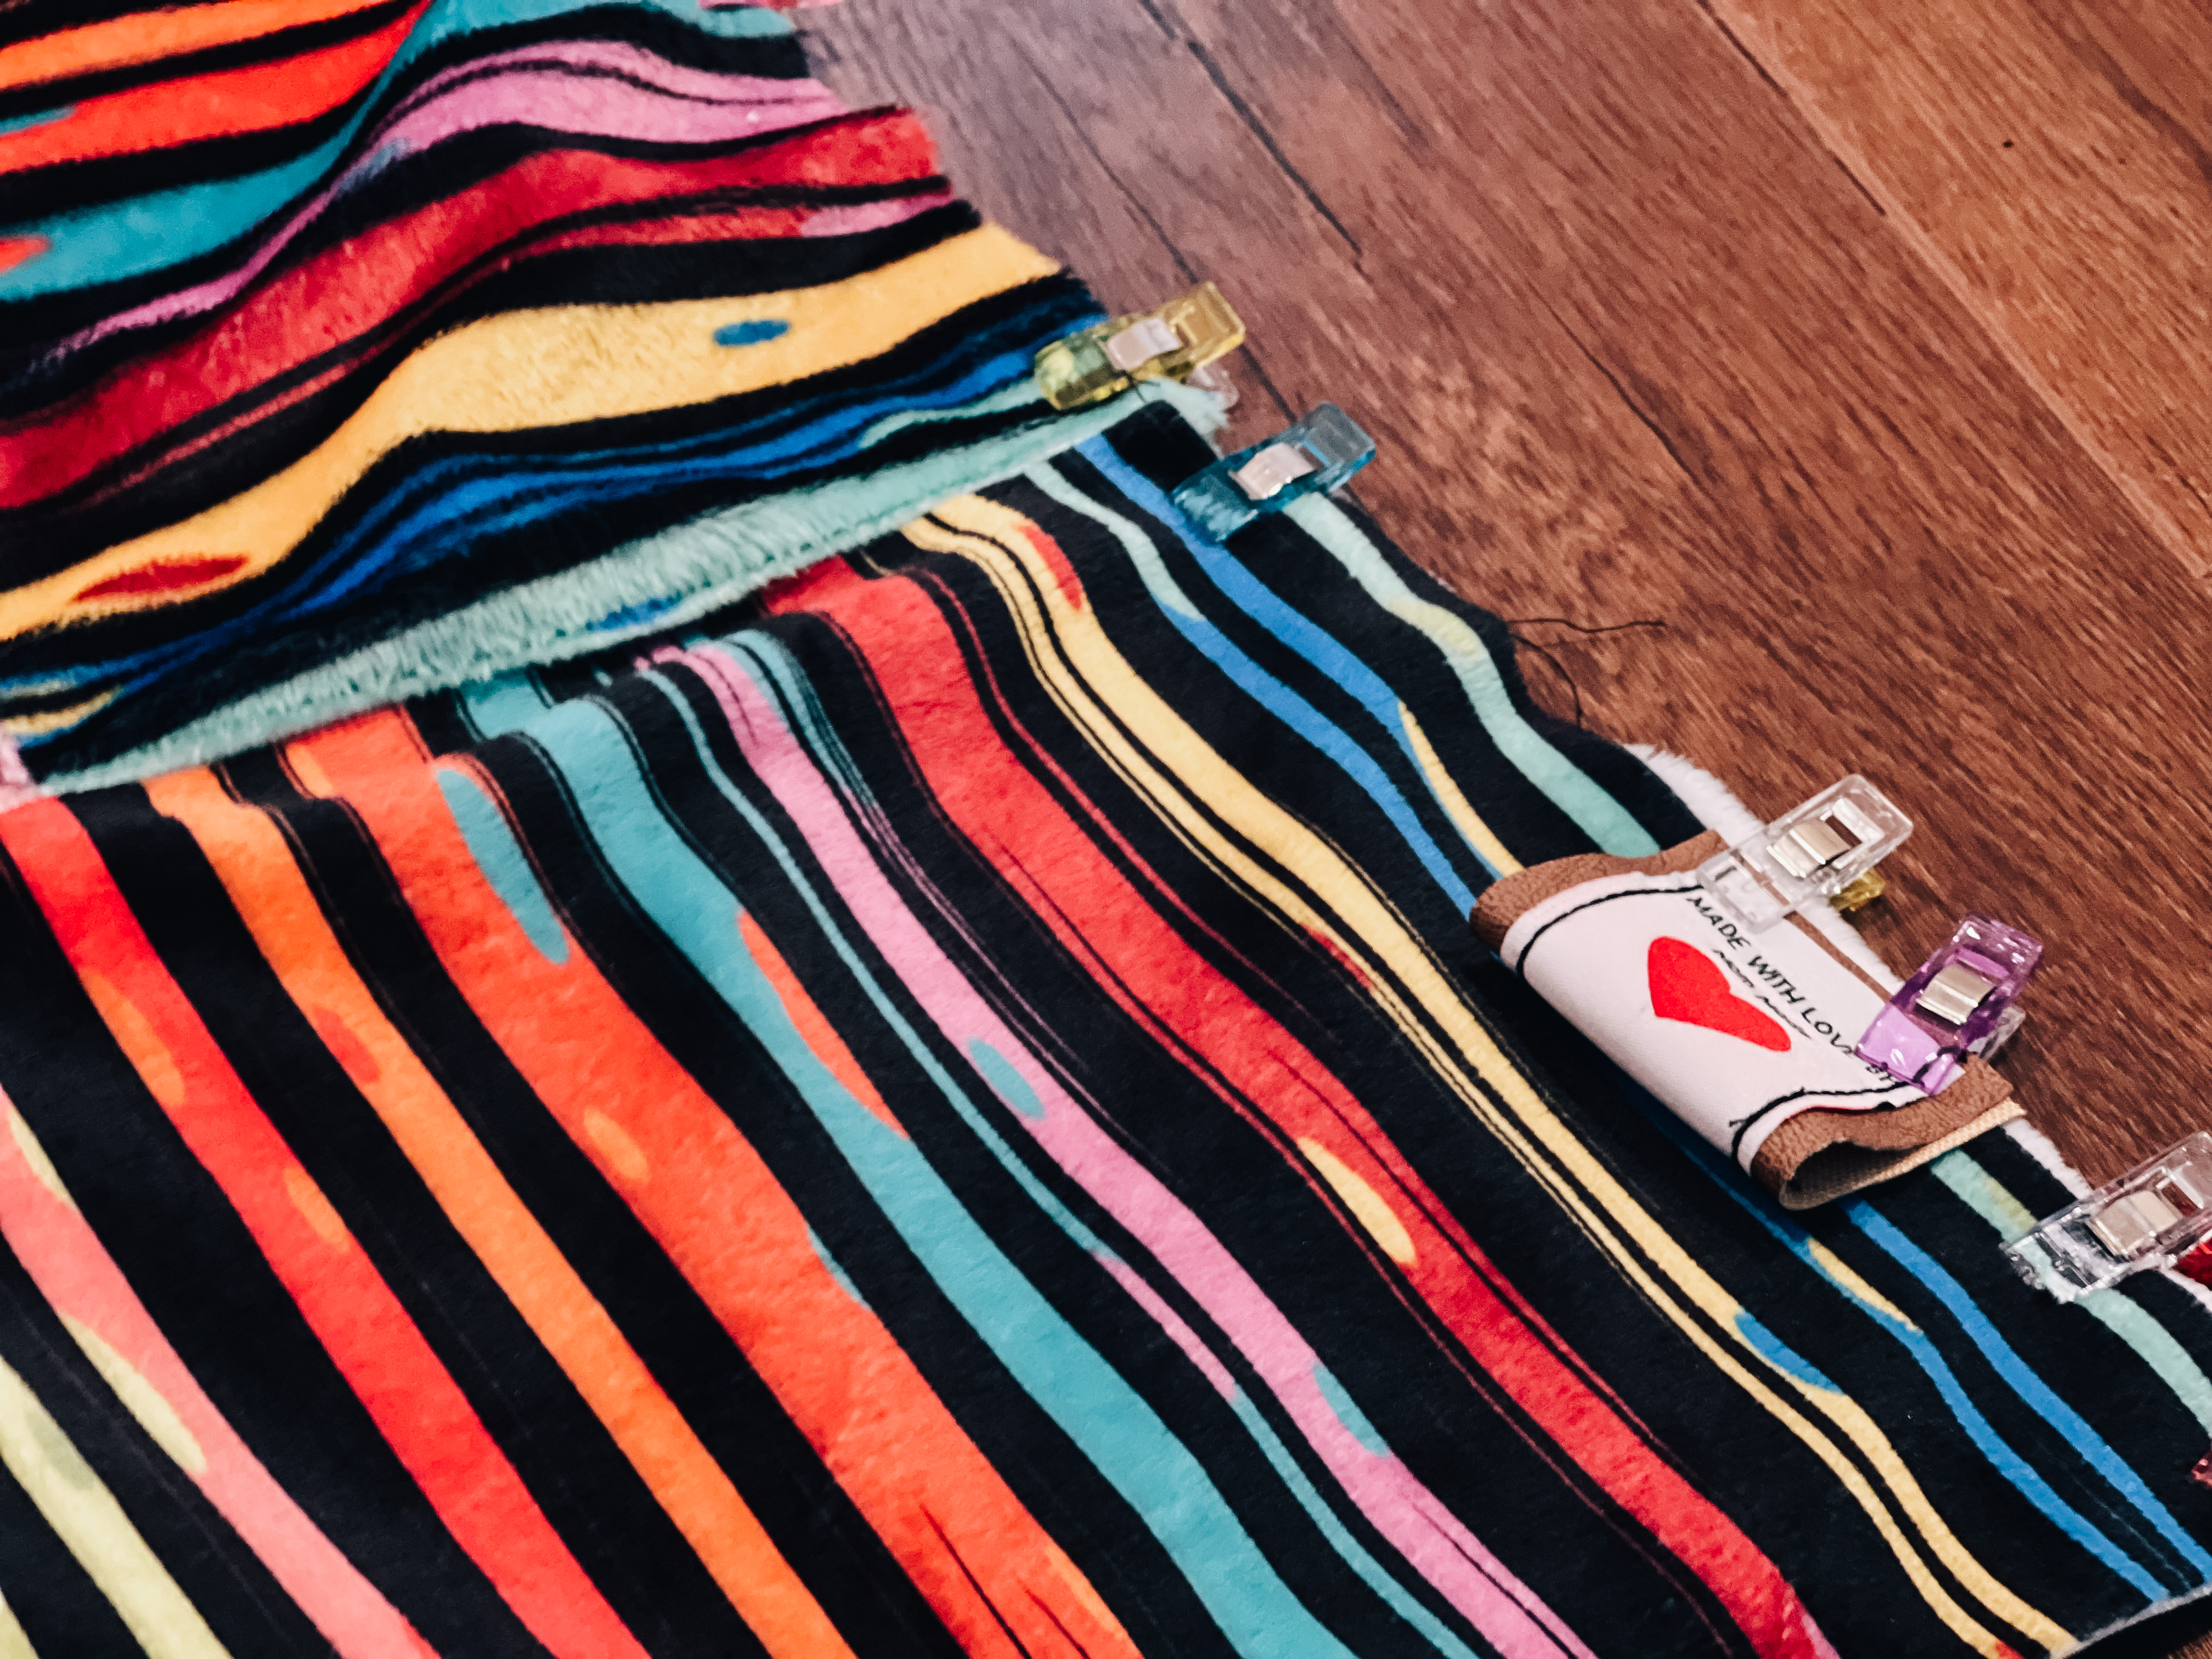
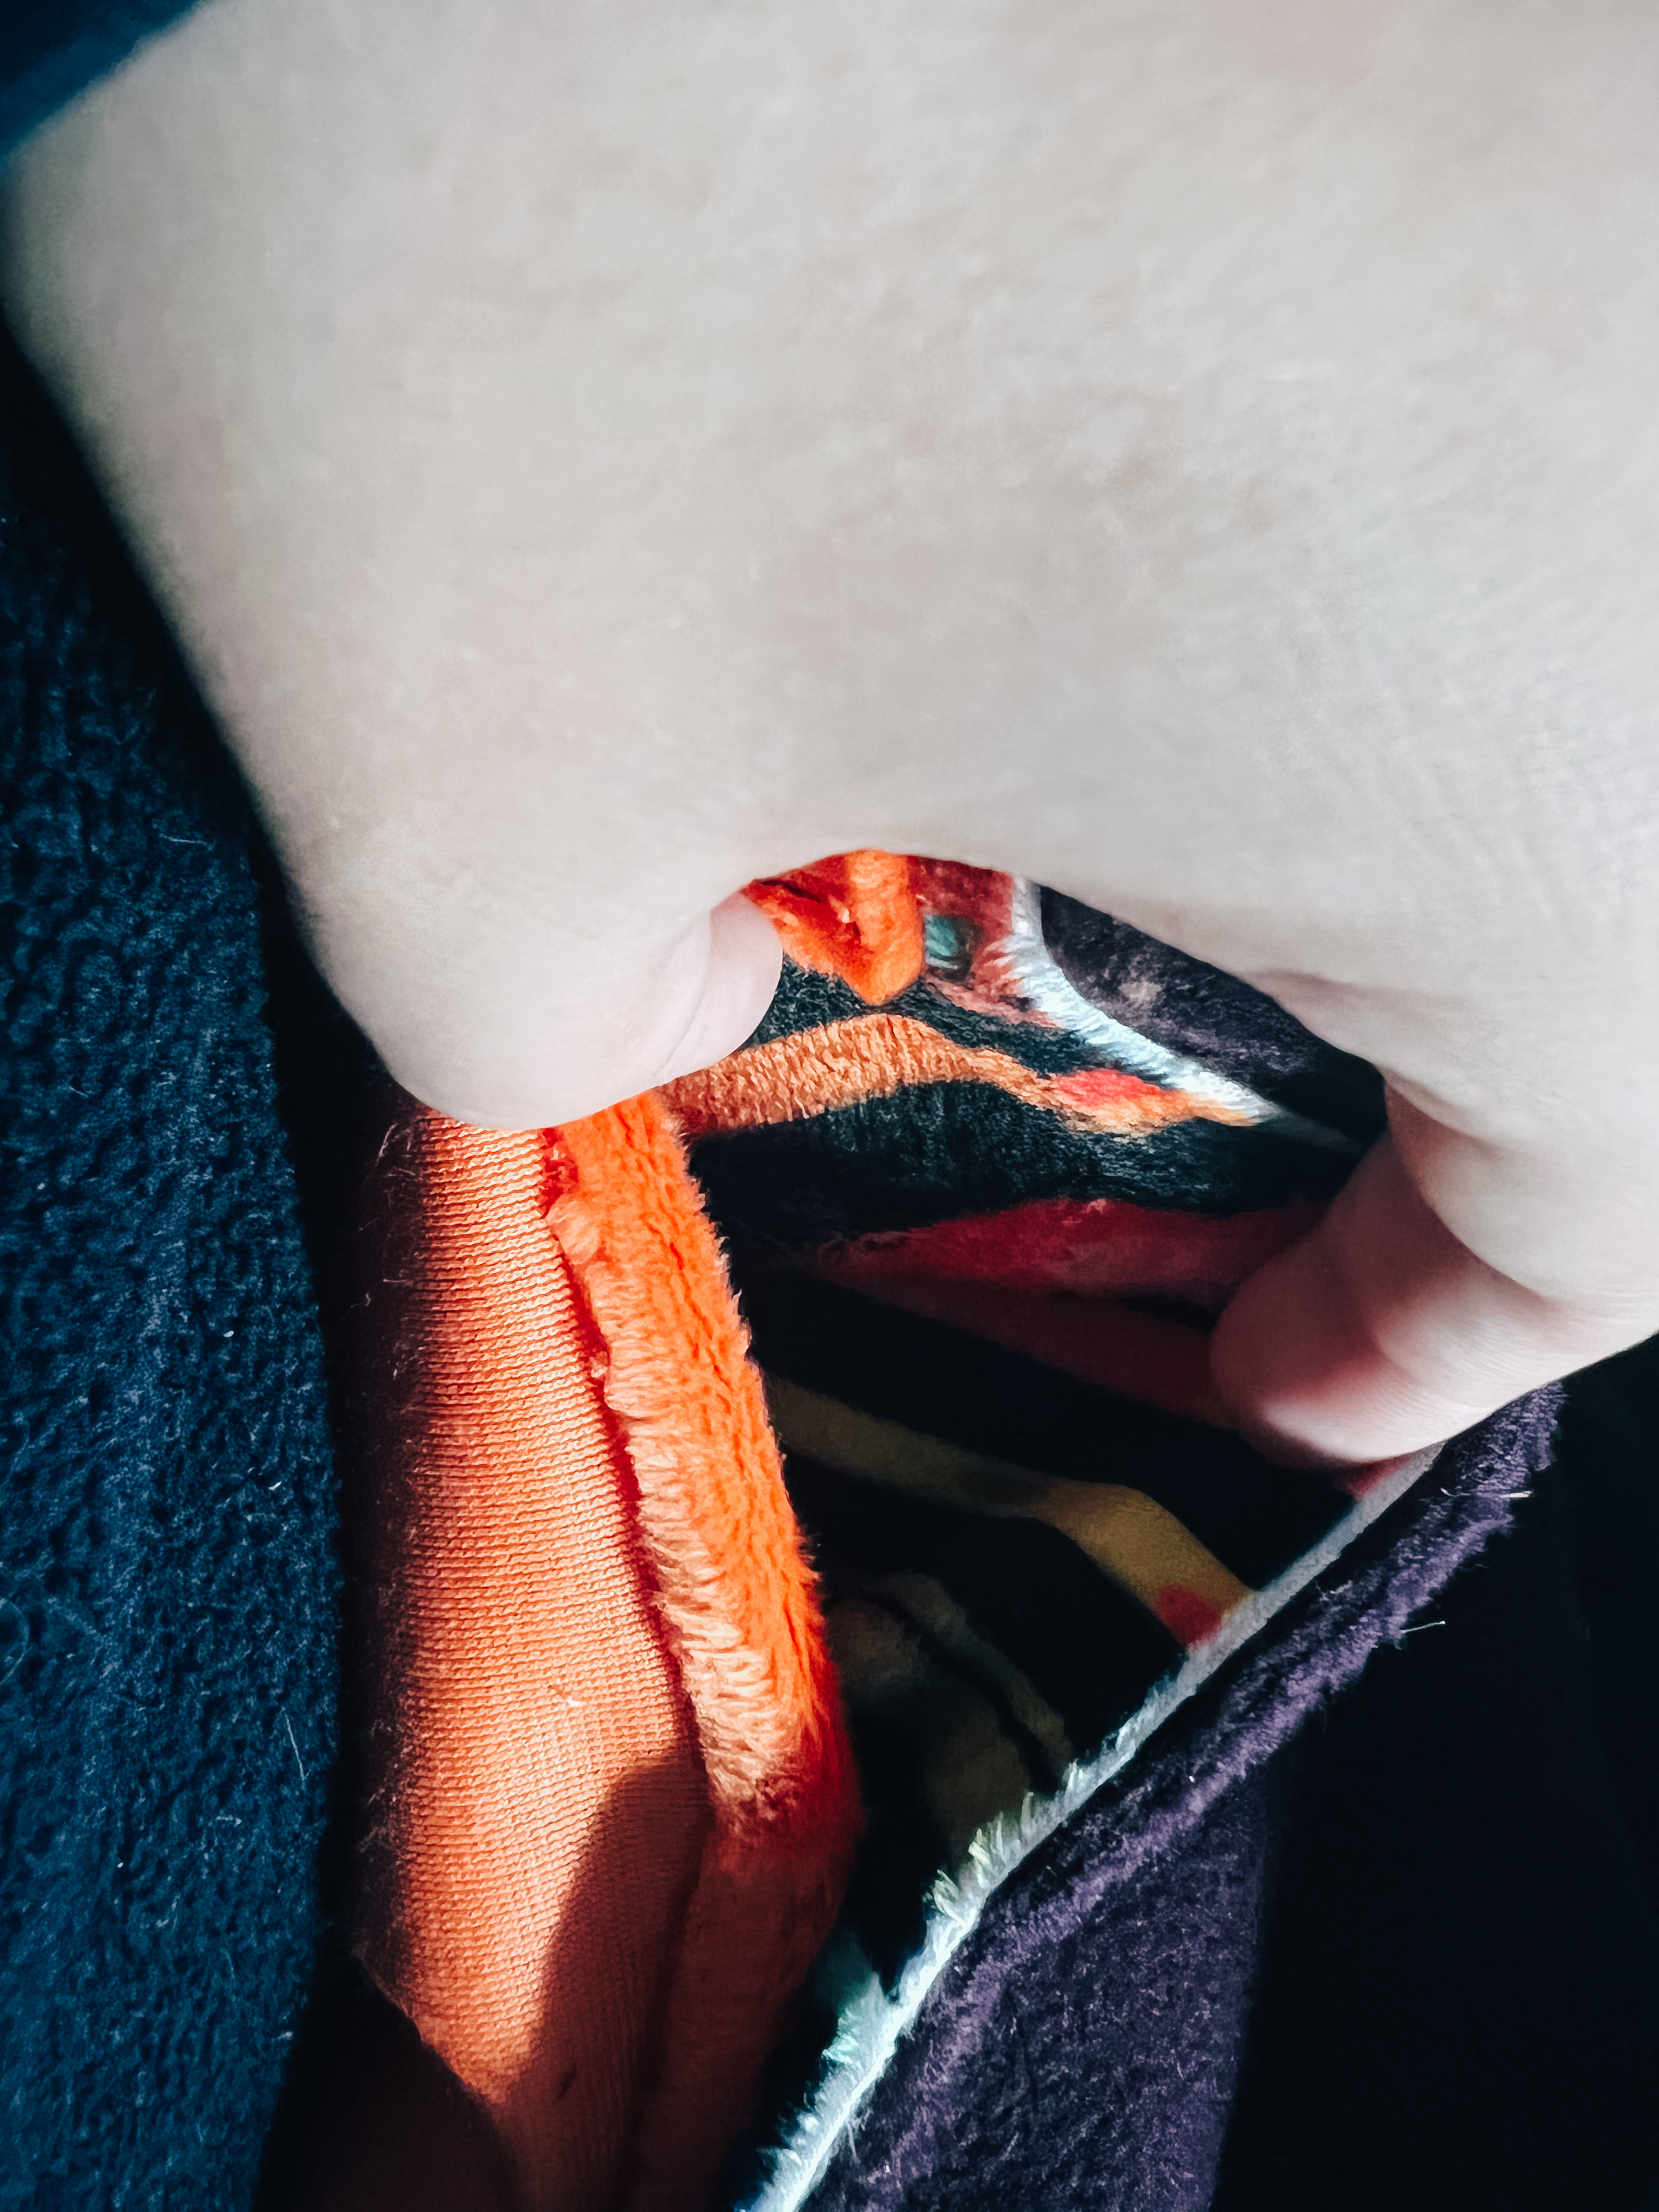
•clip your side pieces to your main FH with right sides together
•sew with a straight stitch or surge
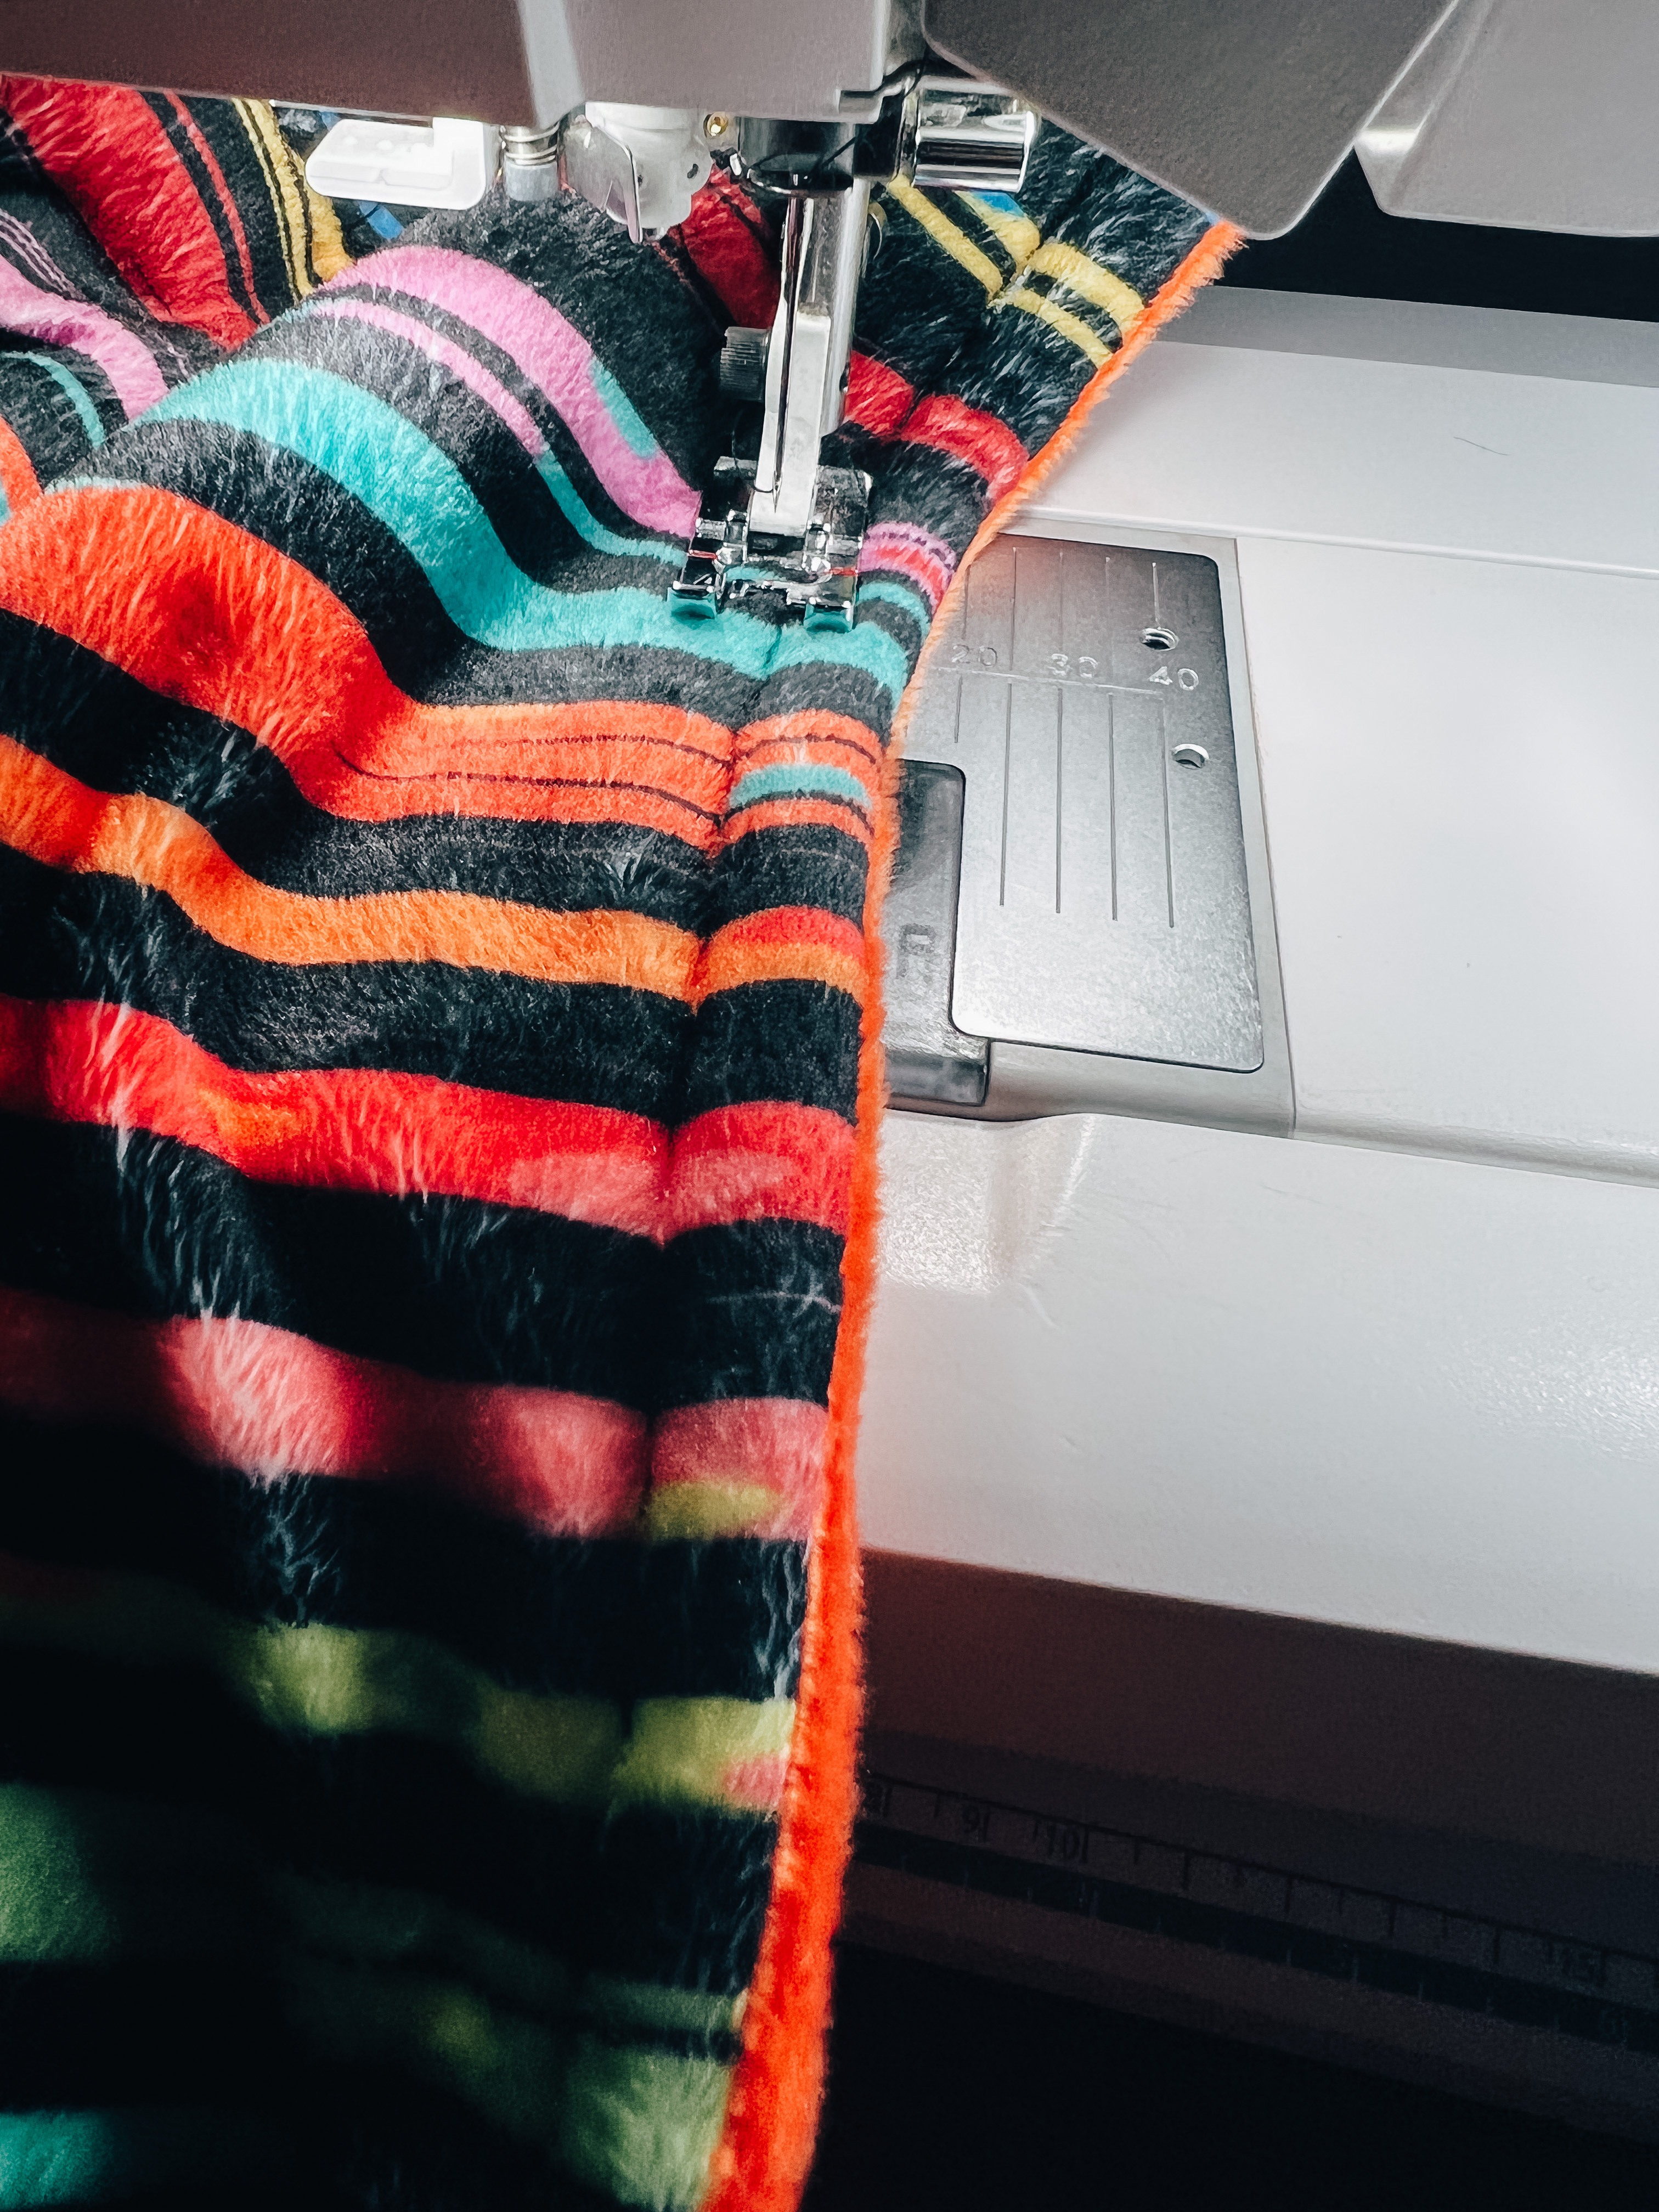
•flip over to right sides and top stitch
•cut any excess that doesn’t line up to the size of your main FH
•clip the top and bottom piece to your main piece with right sides together
•sew with straight stitch or surge
•flip over and top stitch
•if adding and additional items such as appliqués, tags, or any other extras add those now
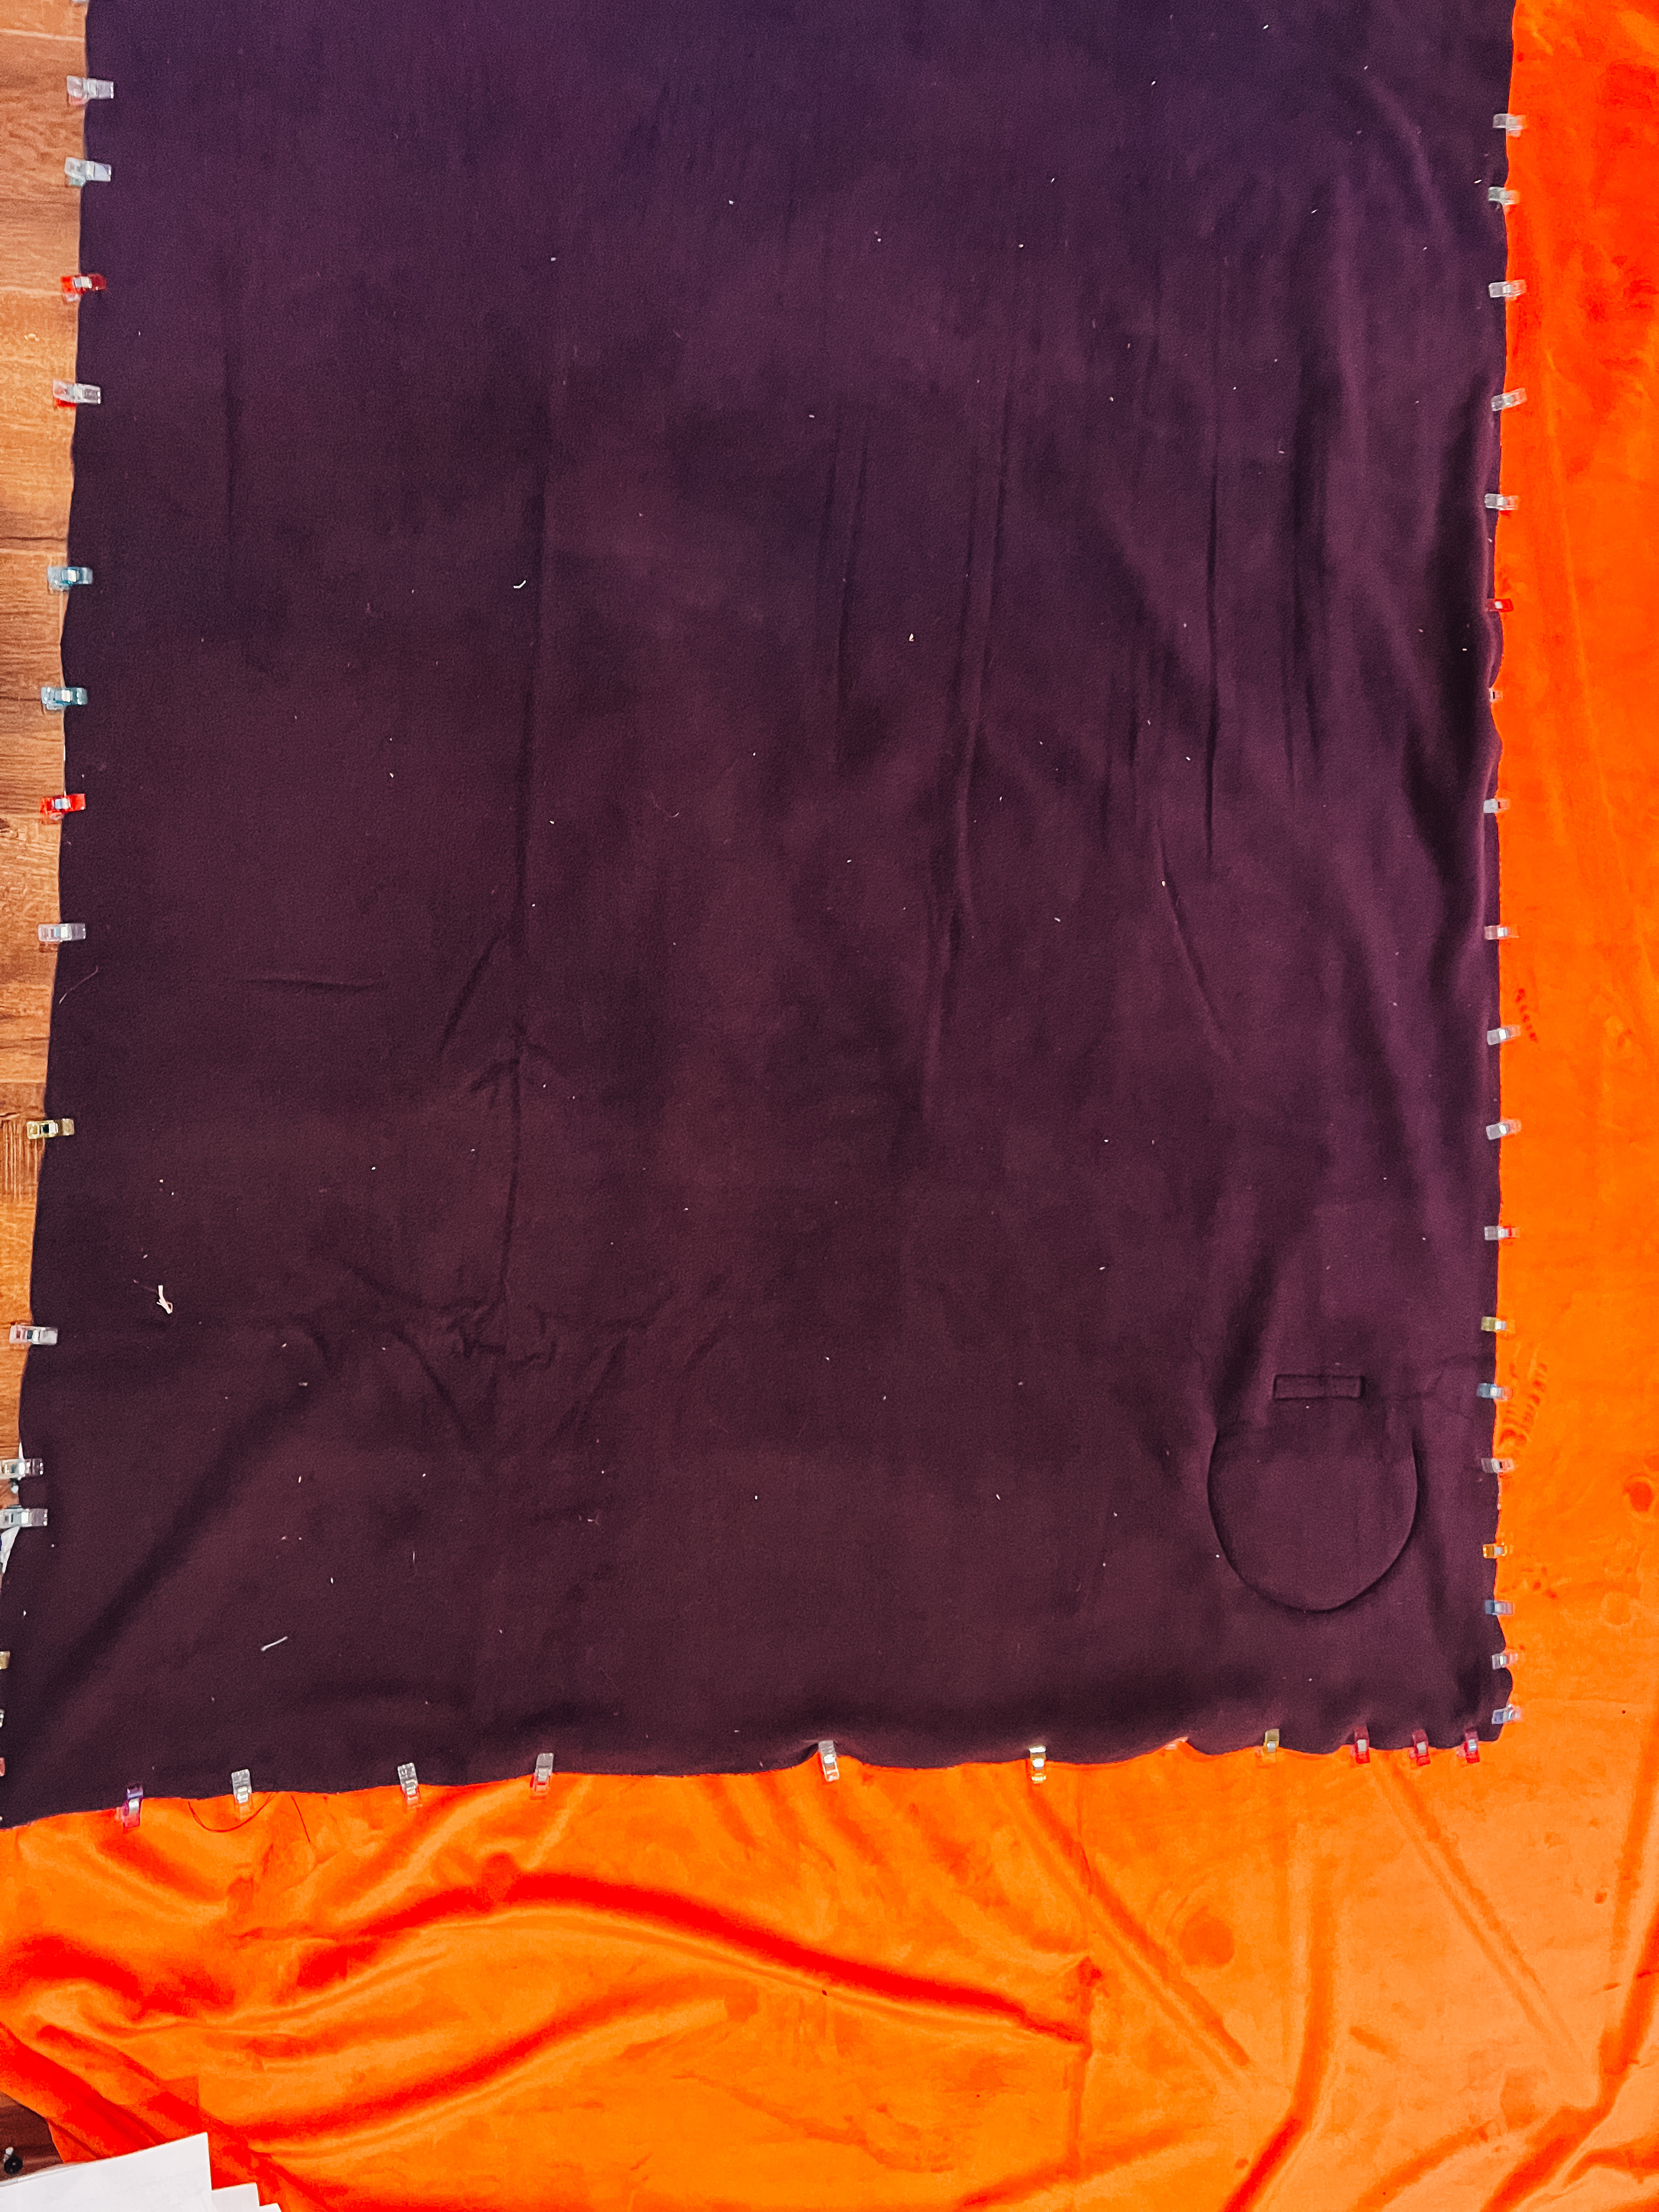
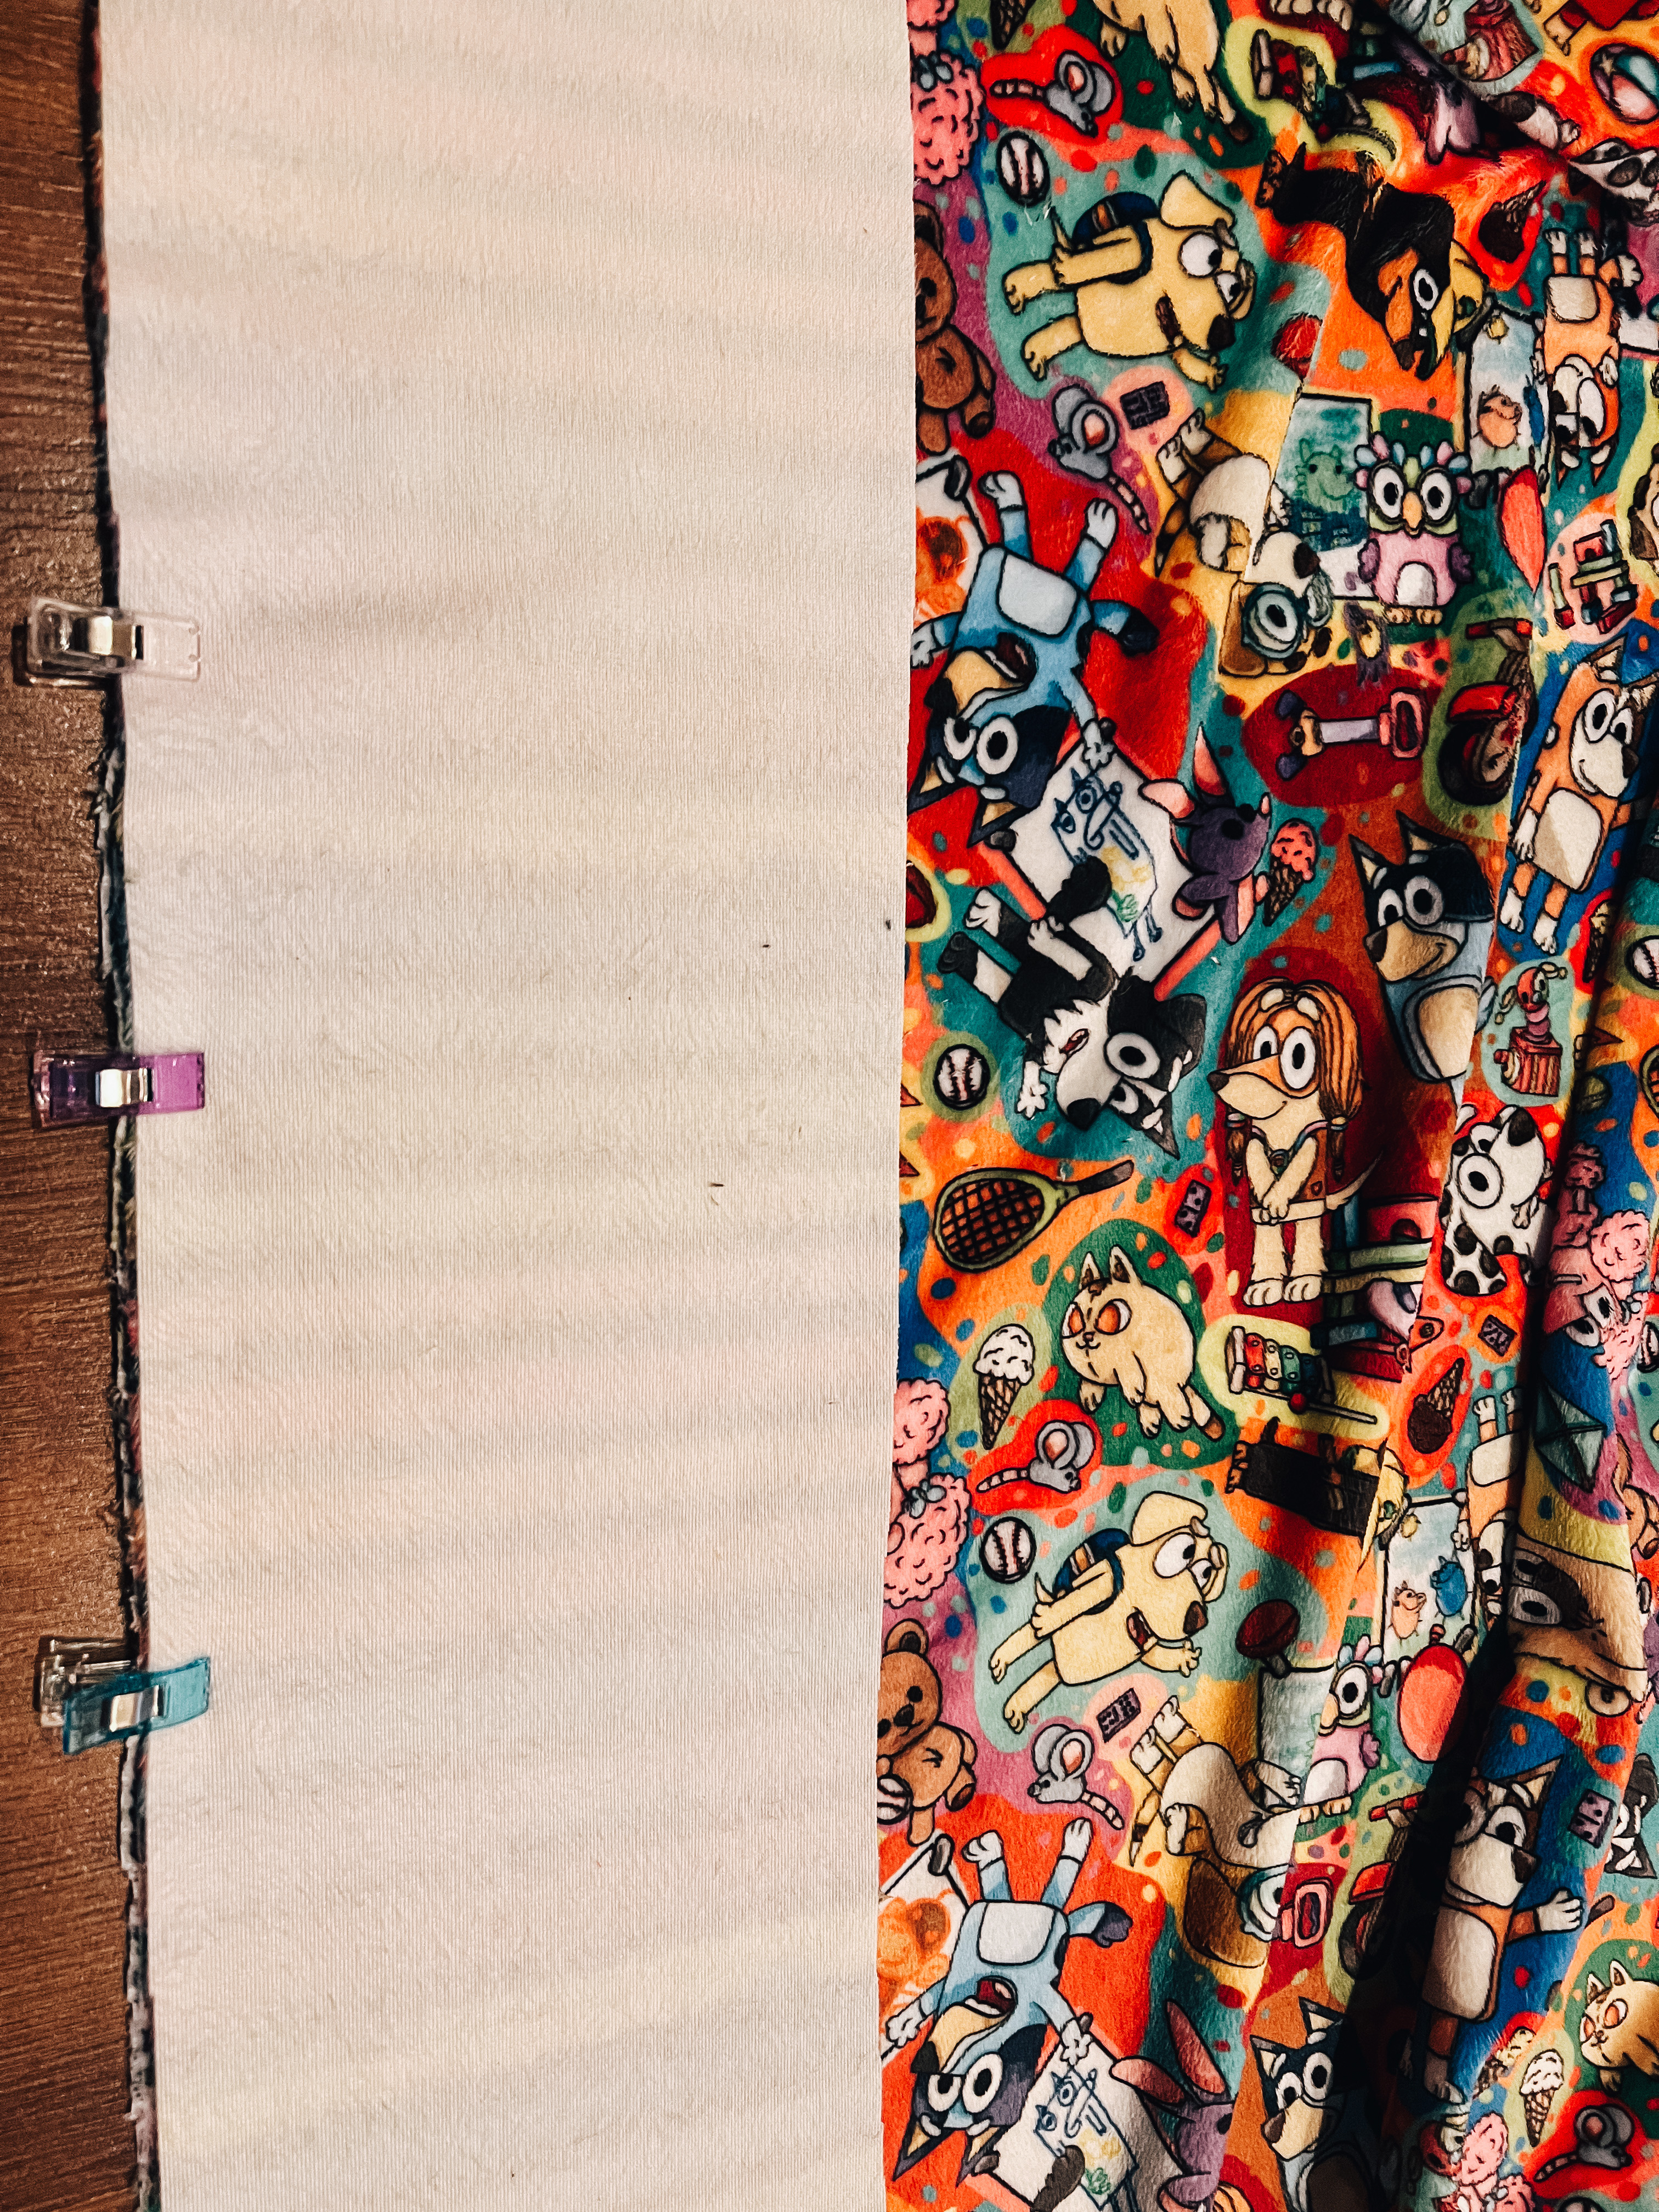
•lay out your two yards of backing and place your top piece on top with right sides together.
•clip the two sides that do not have excess fabric
•cut off any excess of the backing fabric to line up to the size of the top
•pin or clip the other two sides
•sew all four sides leaving about a 5” opening on one side
•cut off any excess after sewn
•turn right side out
•poke out all the corners
•fold in the opening and pin or clip closed
•clip the sides
•top stitch
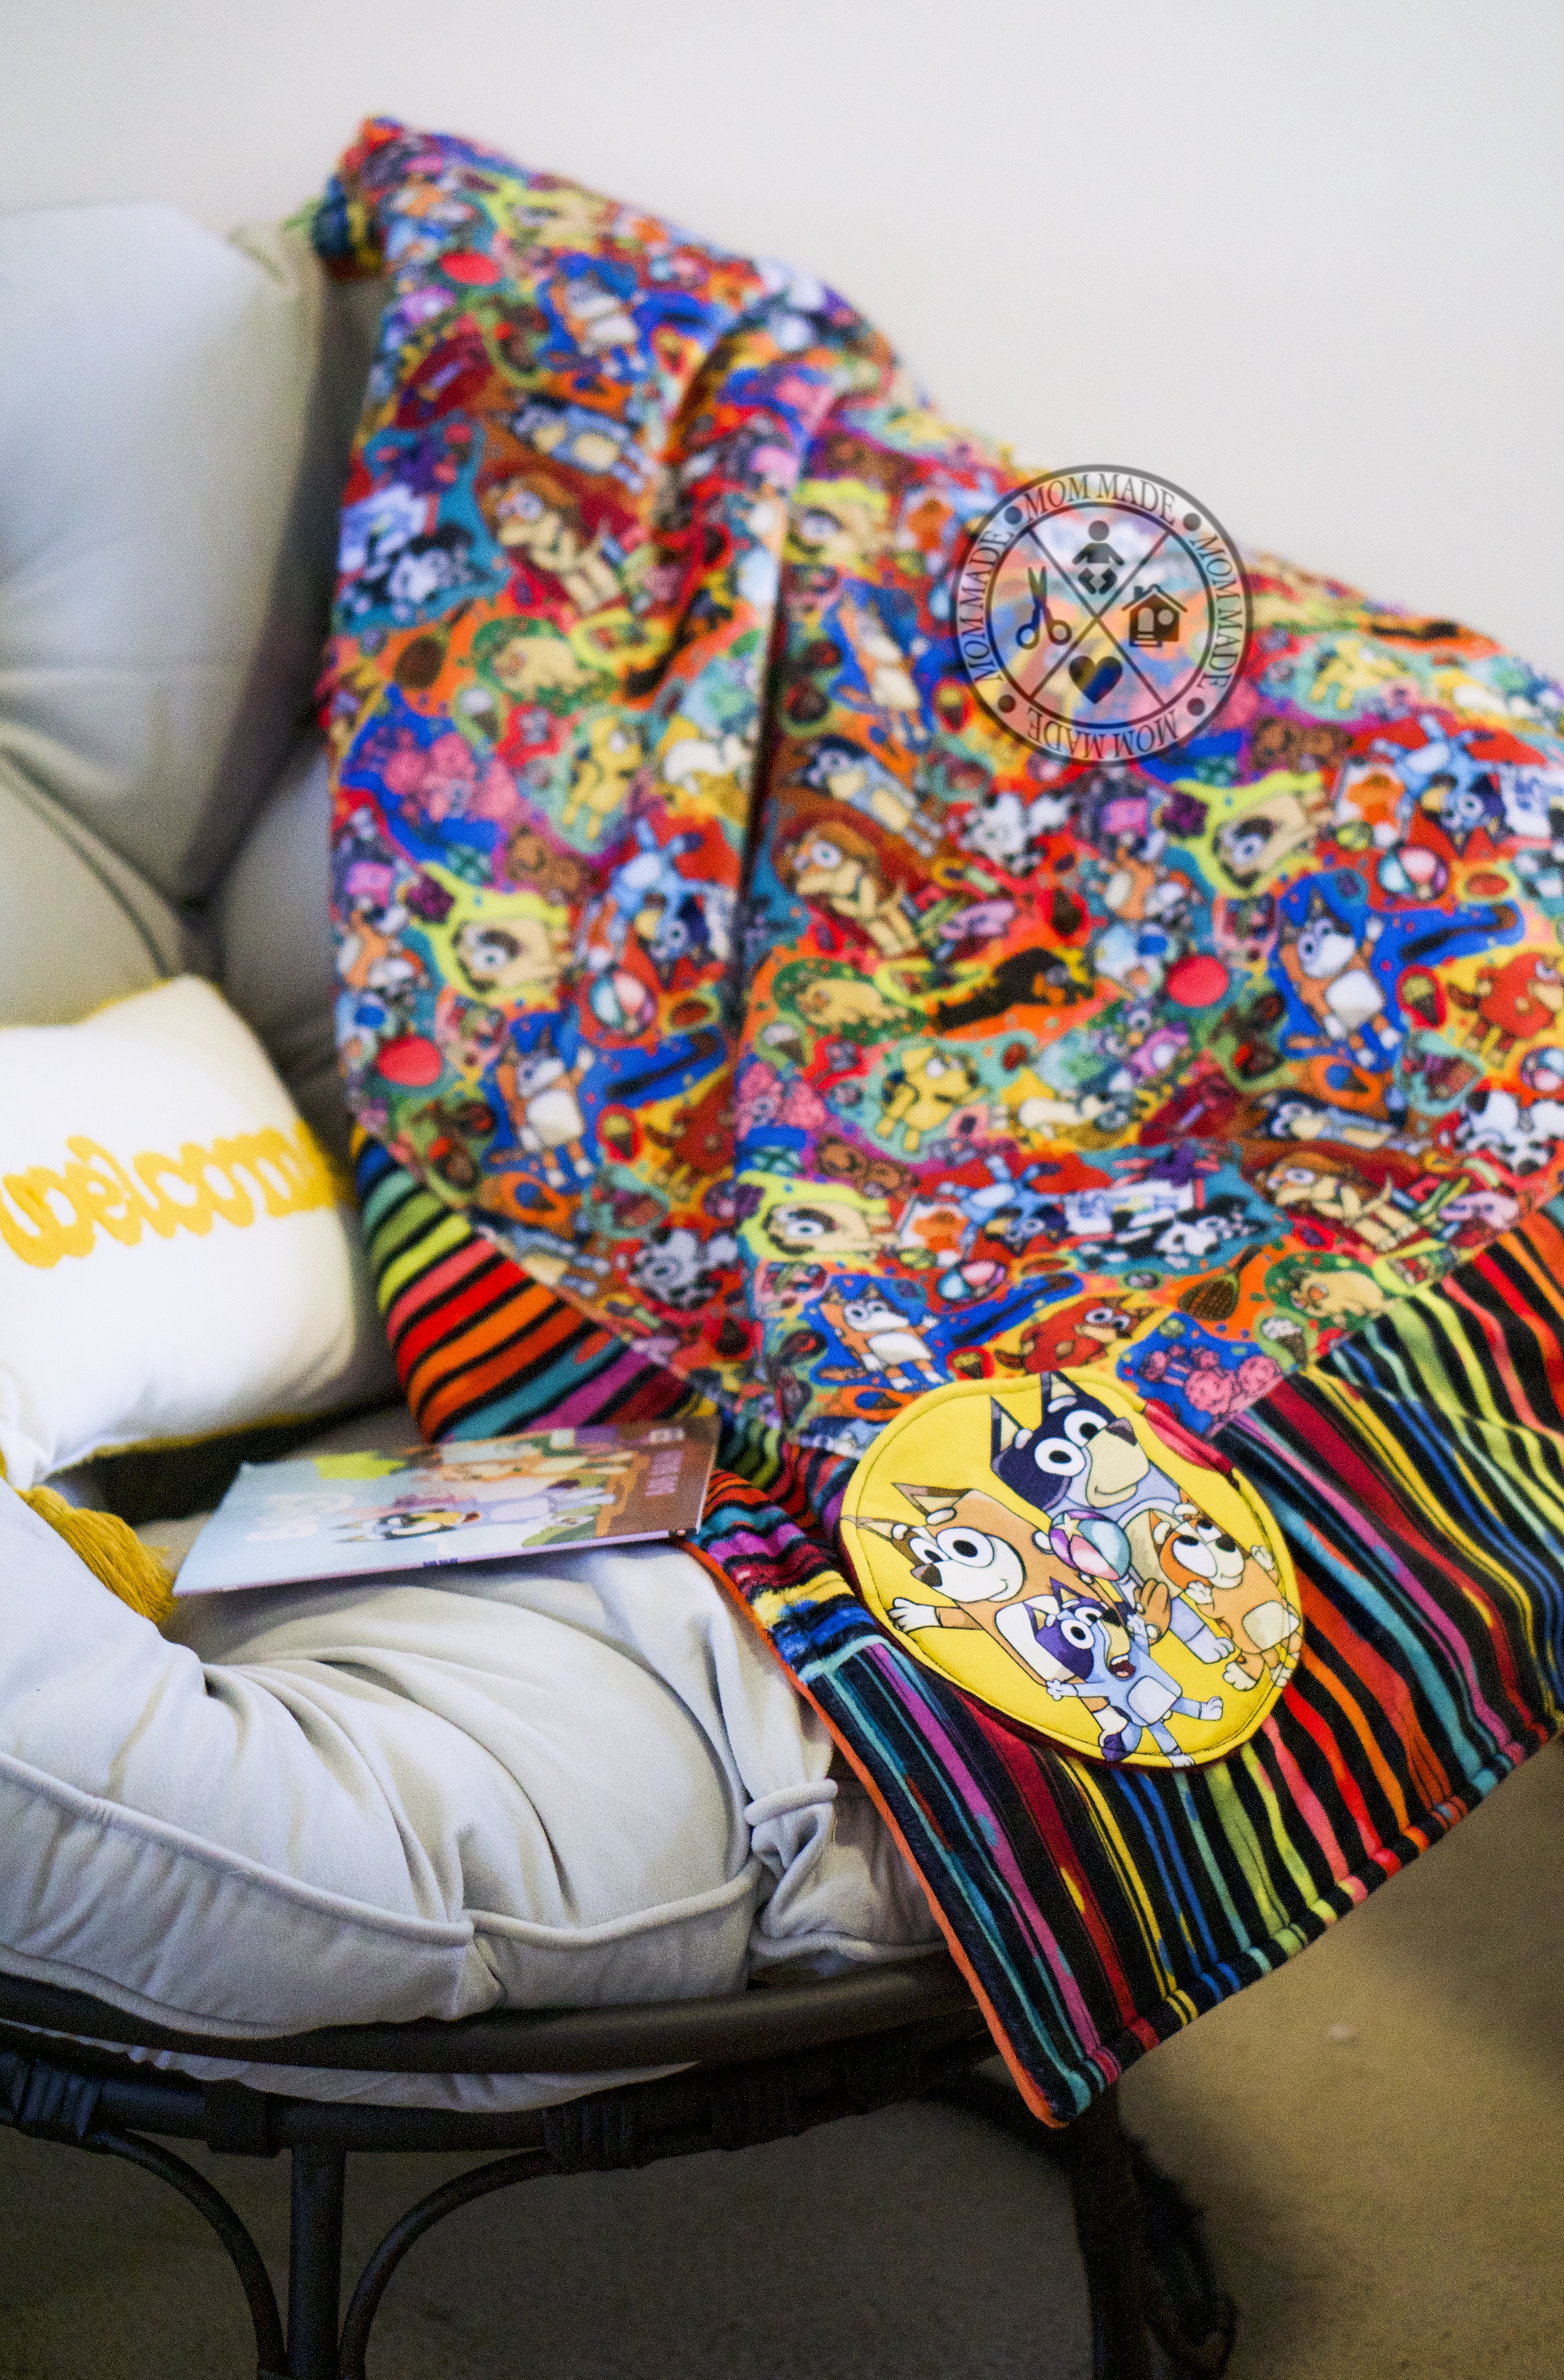
Congratulations! Your done! Take final pictures and enjoy your new blanket.
If you started with two yards you should have two FH’s left here are some ideas of some other fun things to make with your remaining fabric.
• Another blanket
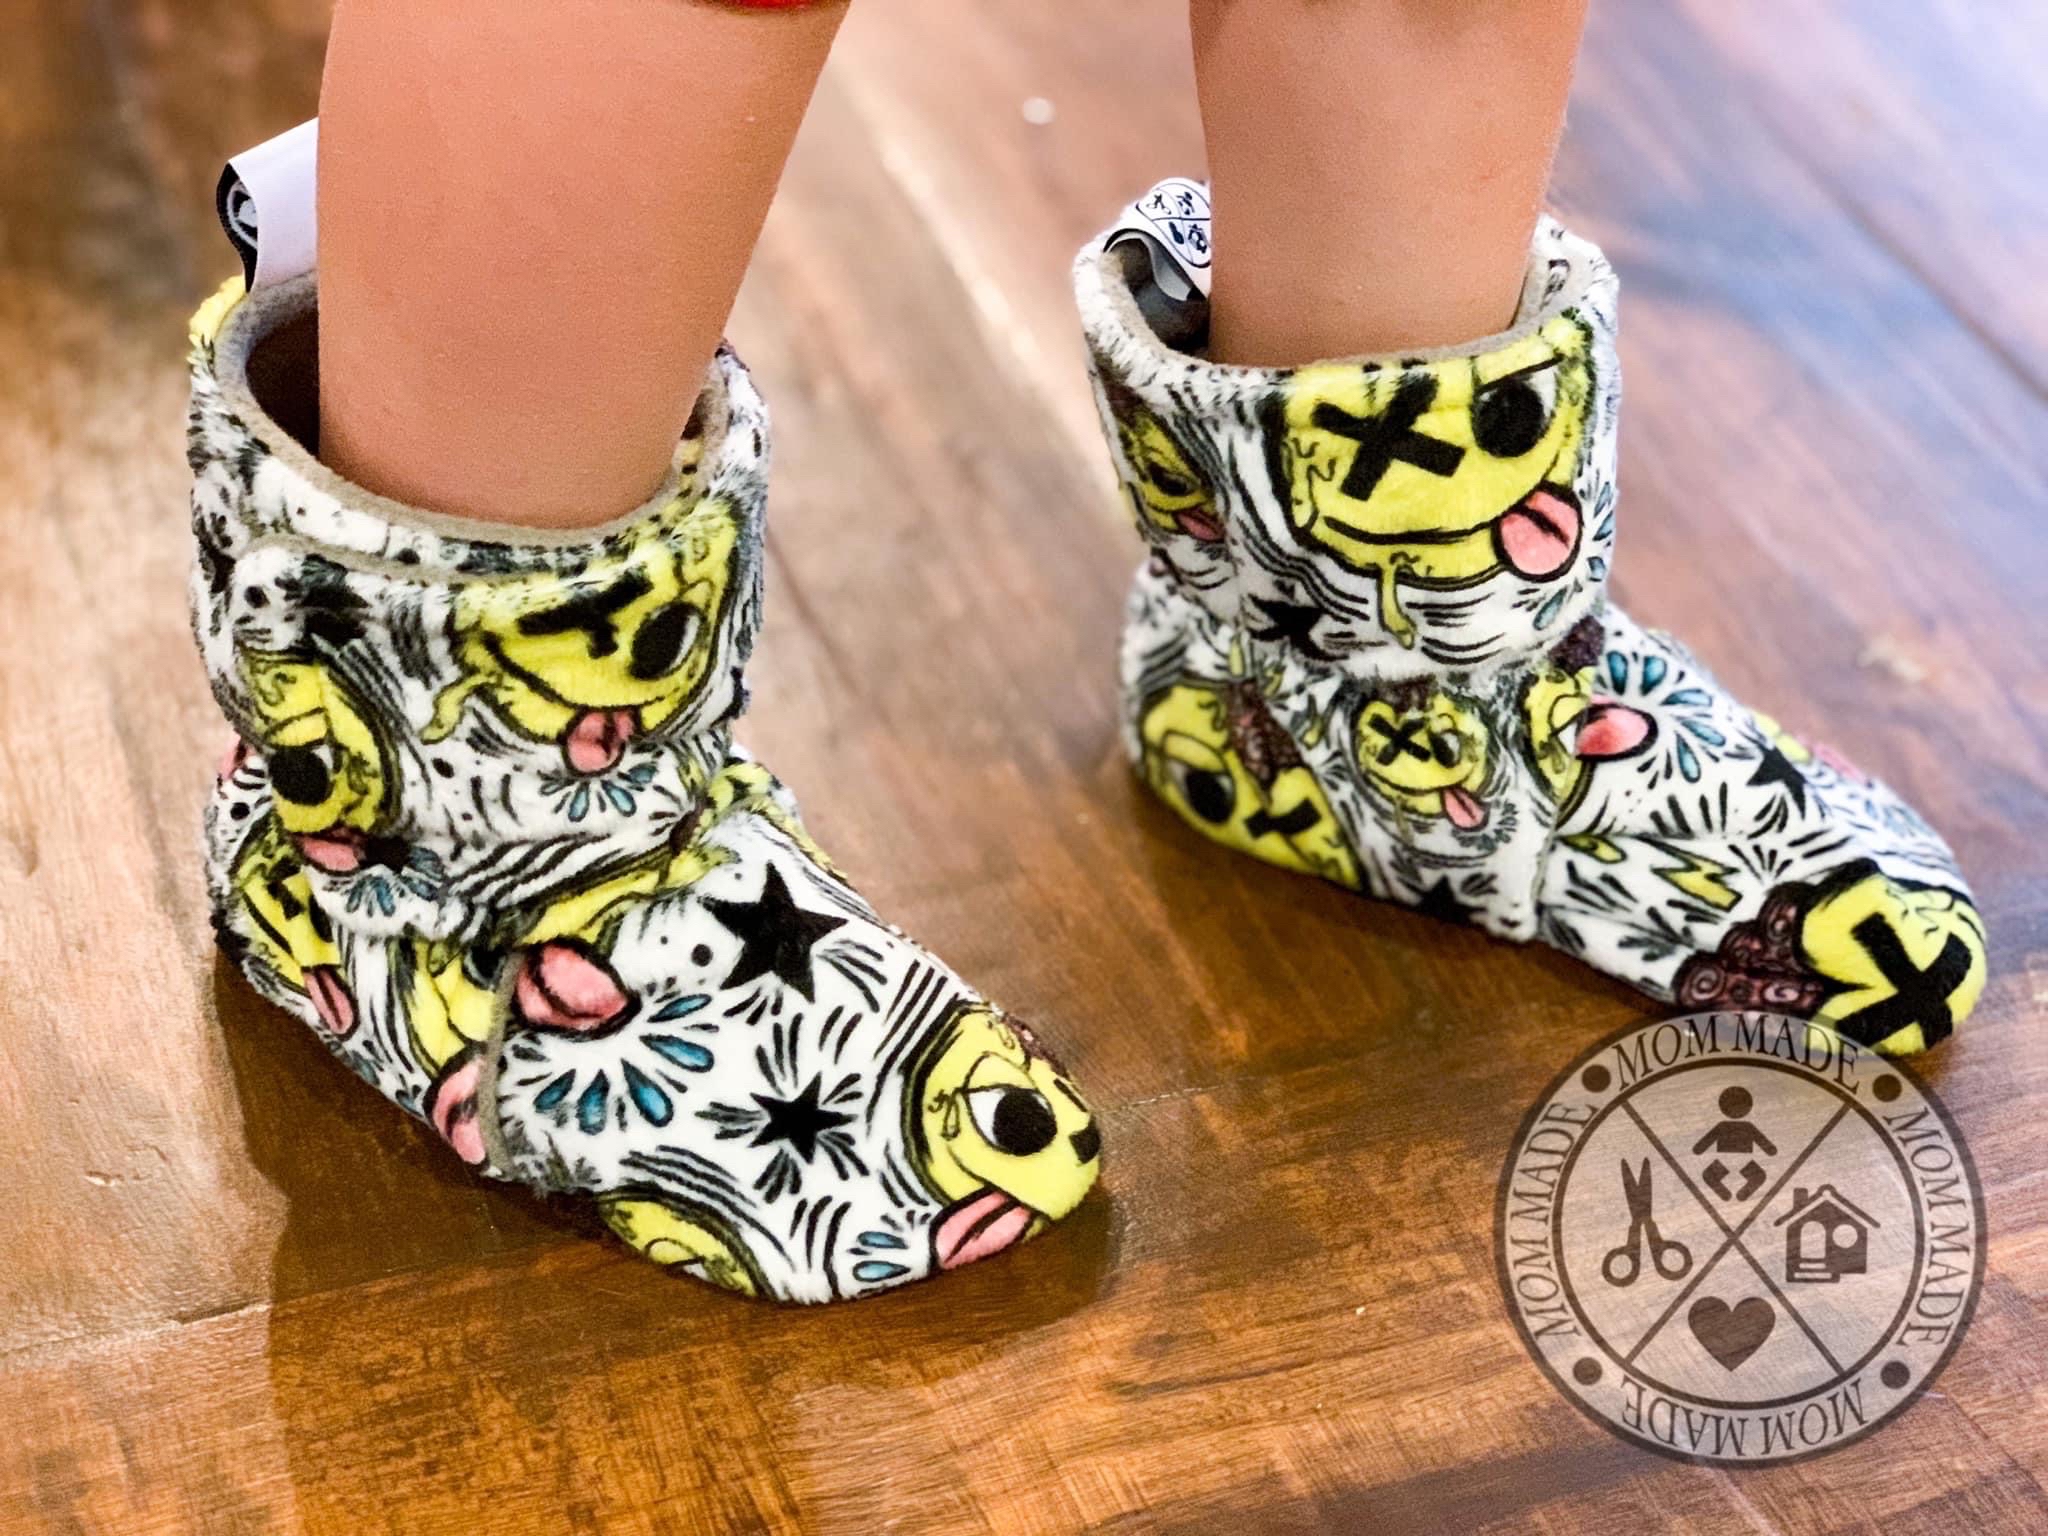
• Slippers (menta pattern shown in picture)
• Stockings
• pillows
• Stuffed animals
Happy sewing.
 OH HEY, FOR BEST VIEWING, YOU'LL NEED TO TURN YOUR PHONE