Our links
More awesome content below!
We are happy to share links to websites that inspired the content we share, or give additional information you may need!
We are happy to share links to websites that inspired the content we share, or give additional information you may need!
List of Ingredients for 2 people:
* 4 Chicken thighs, or 2 chicken breasts
* 2 pita breads. A homemade pita is always better for gyros than the ones you find at the store. Scroll down for recipe!
* 2 Greek Yogurts
* A small bowl of cherry tomatoes
* 1 cucumber
* 1 lemon
* 1 red onion
* 2 cloves of garlic
A bit of:
* Parsley
* Dill
* Oregano
* Paprika
* Red wine vinegar
* Extra virgin olive oil
First, make sure you have a clean working surface.
Then, you will start by preparing the marinade.
Whisk all together in a large bowl the following ingredients:
* 1 half lemon juice
* 1 Greek yogurt
* 1 clove of garlic - chopped
* 1 tablespoon of red wine vinegar
* 1 tablespoon of extra virgin olive oil
* 1 teaspoon of coriander
* 1 teaspoon of oregano
* A pinch of salt, pepper and smoked paprika
* 4 chicken thighs (2 chicken breasts work totally fine too)
*
Put this preparation in a ziplock, get the air out and place it for 1 hour in the fridge to let it marinate.
Meanwhile, prepare the salad. Or what my grandma likes to call it: « the accessories » 😄
In order to do so, whisk all together in a large bowl the following ingredients:
* a few cherry tomatoes - you can either dice them or cut them in half for a better aesthetic finition ;)
* half a cucumber - either diced or sliced into rings. Again, 2nd option is for the nicer look 😎
* 1 red onion - chopped
* A bunch of Parsley
* 1 tablespoon or red wine vinegar
* A pinch of salt and pepper - go easy on the salt ☺️
Now it’s time to prepare the Tzatziki!
* Peel the skin off the other half cucumber.
* Scoop out the seeds.
* Get a grater and shred the cucumber.
* Drain the water out with a kitchen towel or a coffee filter water you have that can squeeze out the water.
Pro tip: You can put a pinch of salt to accelerate the process.
Put it in a bowl and add the following ingredients:
* 1 Greek yogurt.
* White wine vinegar (red wine vinegar works fine too!)
* Chopped garlic
* Fresh chopped dill
* Other half of the lemon juice
* Pinch of salt
* Extra virgin olive oil
Put your yummy Tzatziki in the fridge for a little bit.
Now you can get the marinated chicken out of the fridge.
Place it on the grill on high heat to start off, and then for about 8 to 10 minutes with medium heat.
For the first 3 minutes, do not try to stir. I know the chicken sticking to the pan can seem scary, but it is totally normal :) It’s called the Maillard reaction, and it will keep the flavour of the marinade better in your chicken!
Once it’s done grilling, give it a rough cut.
Heat up your pitas by either putting them in the microwave for a little bit, or on a pan with low temperature. This will help soften them so they're easier to be rolled!
Infuse some olive oil with a bit of oregano and garlic on a pan.
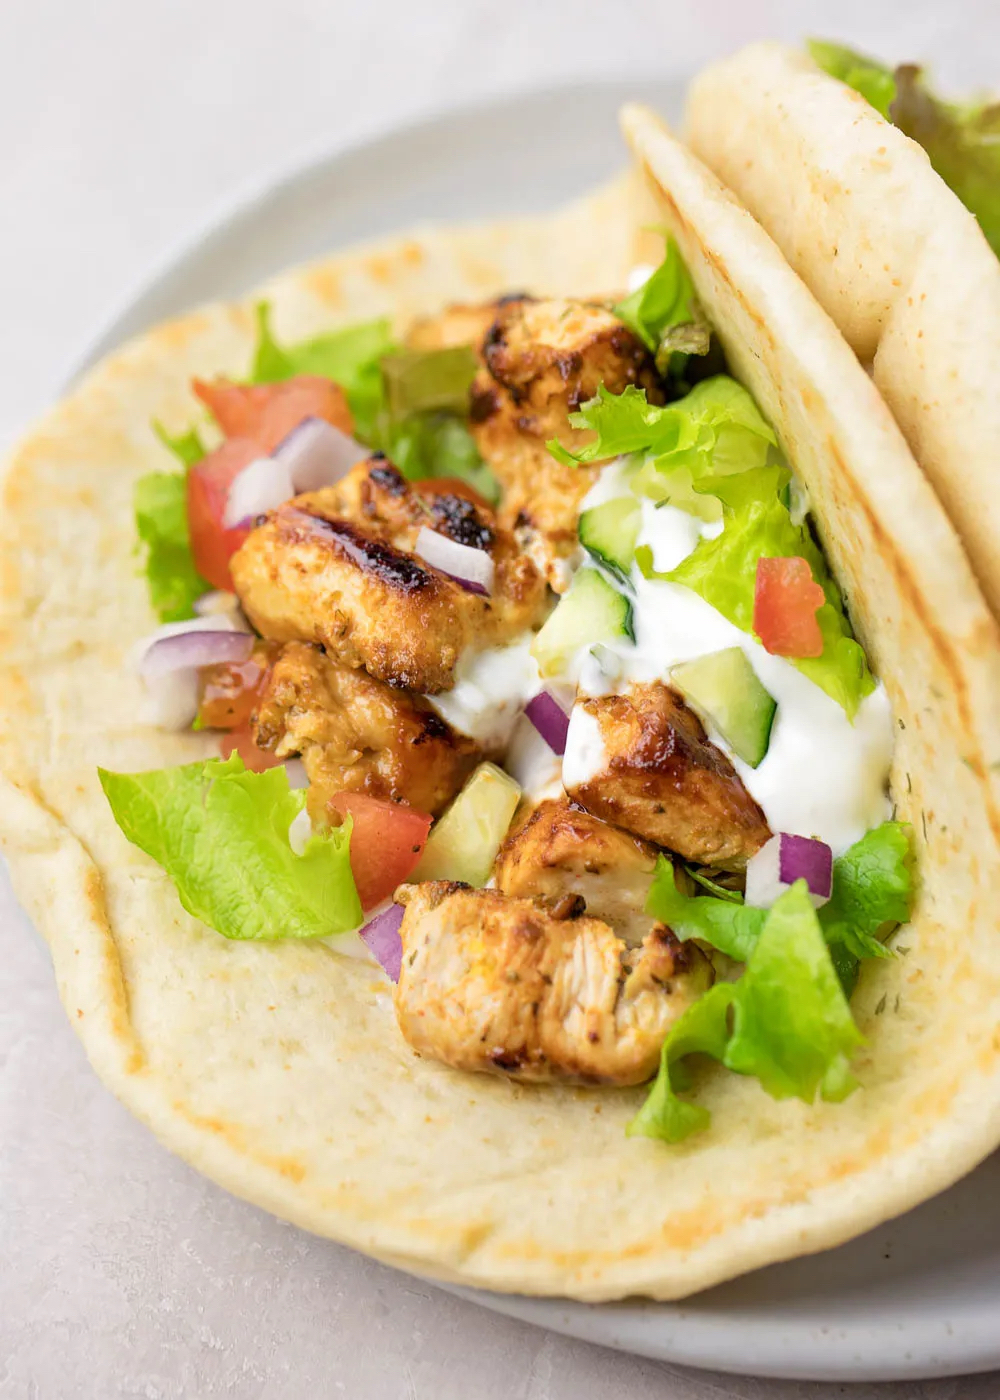
It’s time to assembly the gyro. Kind of like a fajitas, this is the fun part!
Put a foil on half the plate because it can get messy, and it’s easier to eat that way without spilling everything 🤪
To compose the gyro, here are the steps to follow:
* Brush the pita with the infused oil.
* Put the 1st layer of Tzatziki in the middle of the pita.
* Place the accessories/salad.
* Lay the last layer of Tzatziki.
* Roll the gyro with the foil.
And voilàaa! You’re ready to taste this deliciousness 🤩 Enjoy!
Chloe ✨
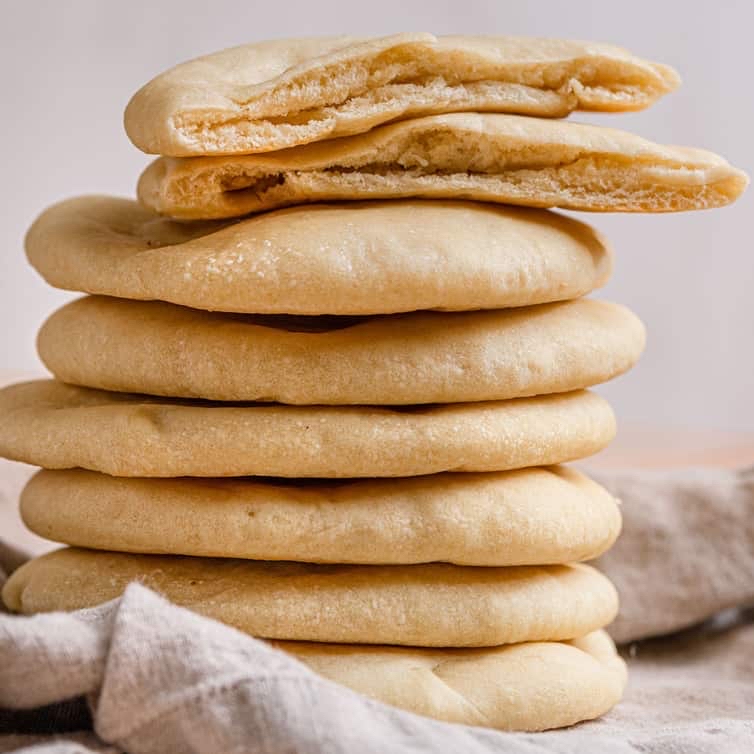
Ingredients for about 10 pitas:
-500g of plain or bread flour (both work fine)
-1 teaspoon of sugar
-A pinch of salt
-2 tablespoons of olive oil
-2 teaspoons of dried yeast (or 30g fresh yeast)
-300/400ml of warm water
Method
First, let's prepare the dough. Whisk all together in a large bowl the following ingredients:
-The yeast and sugar and add the warm water gradually.
-Add the flour.
-Continue adding small amounts of water, you will see you might not need it all until the flour has been combined.
Pro tip: do not put the salt now, it would undo the yeast work.
Place the bowl in a warm place (not covered). Let it sit for about 10 to 15 minutes. It doesn't require more with this type of bread dough. You will know your mixture is ready when it gets frothy and a bit bubbly. If you don't see bubbles, your yeast might not be good anymore. You should start over with a new yeast.
Now it's time to form the pita dough!
-Add the salt and olive oil.
-Stir until the mixture gets sticky. Dust with a little flour if needed. Not too much!
-Work the mixture inside the bowl for about a minute. Don't overdo it! It could break the dough and make it harder to form the round shapes.
-Place the dough on a clean working surface (without dusting it with flour).
-Work the dough again until it's nice and smooth.
-Form a big bowl.
-Cover the dough with a kitchen towel, and let it rise for about 30 minutes or so. It can rise double its size!
-Divide the dough into 7 to 8 equal pieces and shape them into balls.
-Flatten the bowls with the palm of your hands into approximately the size of a starter sized plate.
If it's too sticky to do, put a bit of olive oil on your hands and rub them together as if you're washing your hands. Do not put the oil directly on the working surface, nor on the bowls. If the dough starts to spring back, set it aside to rest for a few minutes, then continue rolling.
Time to cook!
-Heat your pan to a high heat with no oil (the pan must be dry).
-Once the pan is hot, lower the heat to medium.
-Add in one pita at a time and place a lid for 20 seconds.
-Remove the lid, there should be brown bubbles. It means it's time to flip the pitta and cook for another 45 seconds.
You're done and ready to taste these yummy Greek breads! ✨


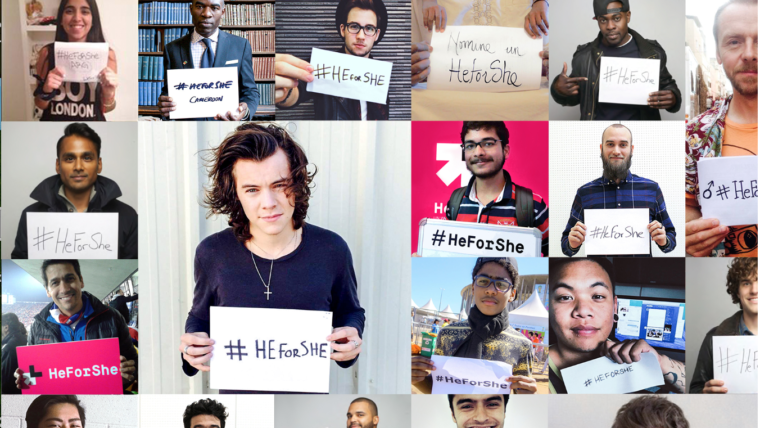
I started volunteering very young by taking the initiative to empty the dishwasher. More seriously, in high school i was a youth ambassador for UNICEF. It went from selling croissants every Tuesday, to organizing a race where we raised several thousand euros.
Volunteering has brought me many beautiful things and I must say that it is addictive, once you're in it, it is difficult to do without. In addition to helping and giving a little of your time to people who need it, it's also an opportunity to meet new people! As Michelle Obama would say, "We can live in the world as it is, but that doesn't stop us from doing everything we can to create the world as it should be".

The first time I volunteered was in the Philippines after the 2004 Tsunami. It changed my life to think that without the help of UNICEF and other organizations, entire villages would’ve perished.
I later decided to commit some time each week to “les restos du coeur” distributing food, clothes and giving moral support to individuals and families in need.
Time is my most precious resource, and giving some of my time to those less fortunate than I am is the least I can do.
One of my favorite quotes is « be the change you want to see in the world ».
Every little thing we can do to help has an impact!

We are a nonprofit organization constituted of three students and their teacher, with the common goal of promoting health and well-being to students, graduates, and young professionals. We want to help the new generation find a healthy balance between their different social roles, one Instagram post at a time.
Our content covers various personal development topics, 7 days a week. Reliable tips and tricks, recommendations, fun challenges, and many inspirations will be shared each day to accompany our followers on their life journey. This content is inspired by our own experiences, scientific support, books, and studies.
We believe we can all be better humans if we adopt a growth mindset and learn to understand ourselves, accept ourselves and pursue our own well-being. We hope this Instagram account will inspire the new generation to embark on this journey with us.
 OH HEY, FOR BEST VIEWING, YOU'LL NEED TO TURN YOUR PHONE